


Can You Install Wall Panels Over Existing Tile?
|
|
Time to read 8 min
|
|
Time to read 8 min
Outdated old kitchen and bathroom tiles plague so many homeowners. Even if everything else in the room looks new and modern, old tiles will make the room look antique. Unsurprisingly, homeowners don't just have the option of pulling out old tiles and replacing them with new. Dust, time, money, and the sheer scale of the tile removal contribute to the project's difficulty.
To avoid all of the hassle, homeowners are left wondering if they can just put wall panels over the tiles. Fortunately, the answer is yes! There is a chance that an easier, cheaper, and new wall option is just behind the tiles. As easy as that sounds, wall panels need the appropriate surface under them in order to be successfully placed. Also, the appropriate wall panels need to be selected, and the walls need to be prepared and done properly.
Determine if putting up wall paneling is the right choice in this new guide, and learn how to make that choice, how to put up the wall panels, pick the best wall panels, and avoid mistakes along the way that will compromise the result and take as long as the tile removal.
The response is yes; Wall Panels may be installed over the present tiling surfaces in the bathroom, kitchen, laundry room, and other areas. Basically, many homeowners favor this choice since it saves time, keeps their home clean, and avoids having to discard old tiles.
It's important to remember, though, that not all tiled walls are appropriate. There will be less success in installing tiles if there are any problems with the tile's condition.
Before starting, please be aware of the following:
It is not only a DIY craze but an effective remodeling technique. In fact, 78% of UK bathroom fitters say they've managed to get the job of fitting over tiles done successfully. In 2026, fresh adhesives and panel designs have enhanced the reliability of installing wall panels over tile. The main trick (and the only one) is to lay the surface properly before you begin.
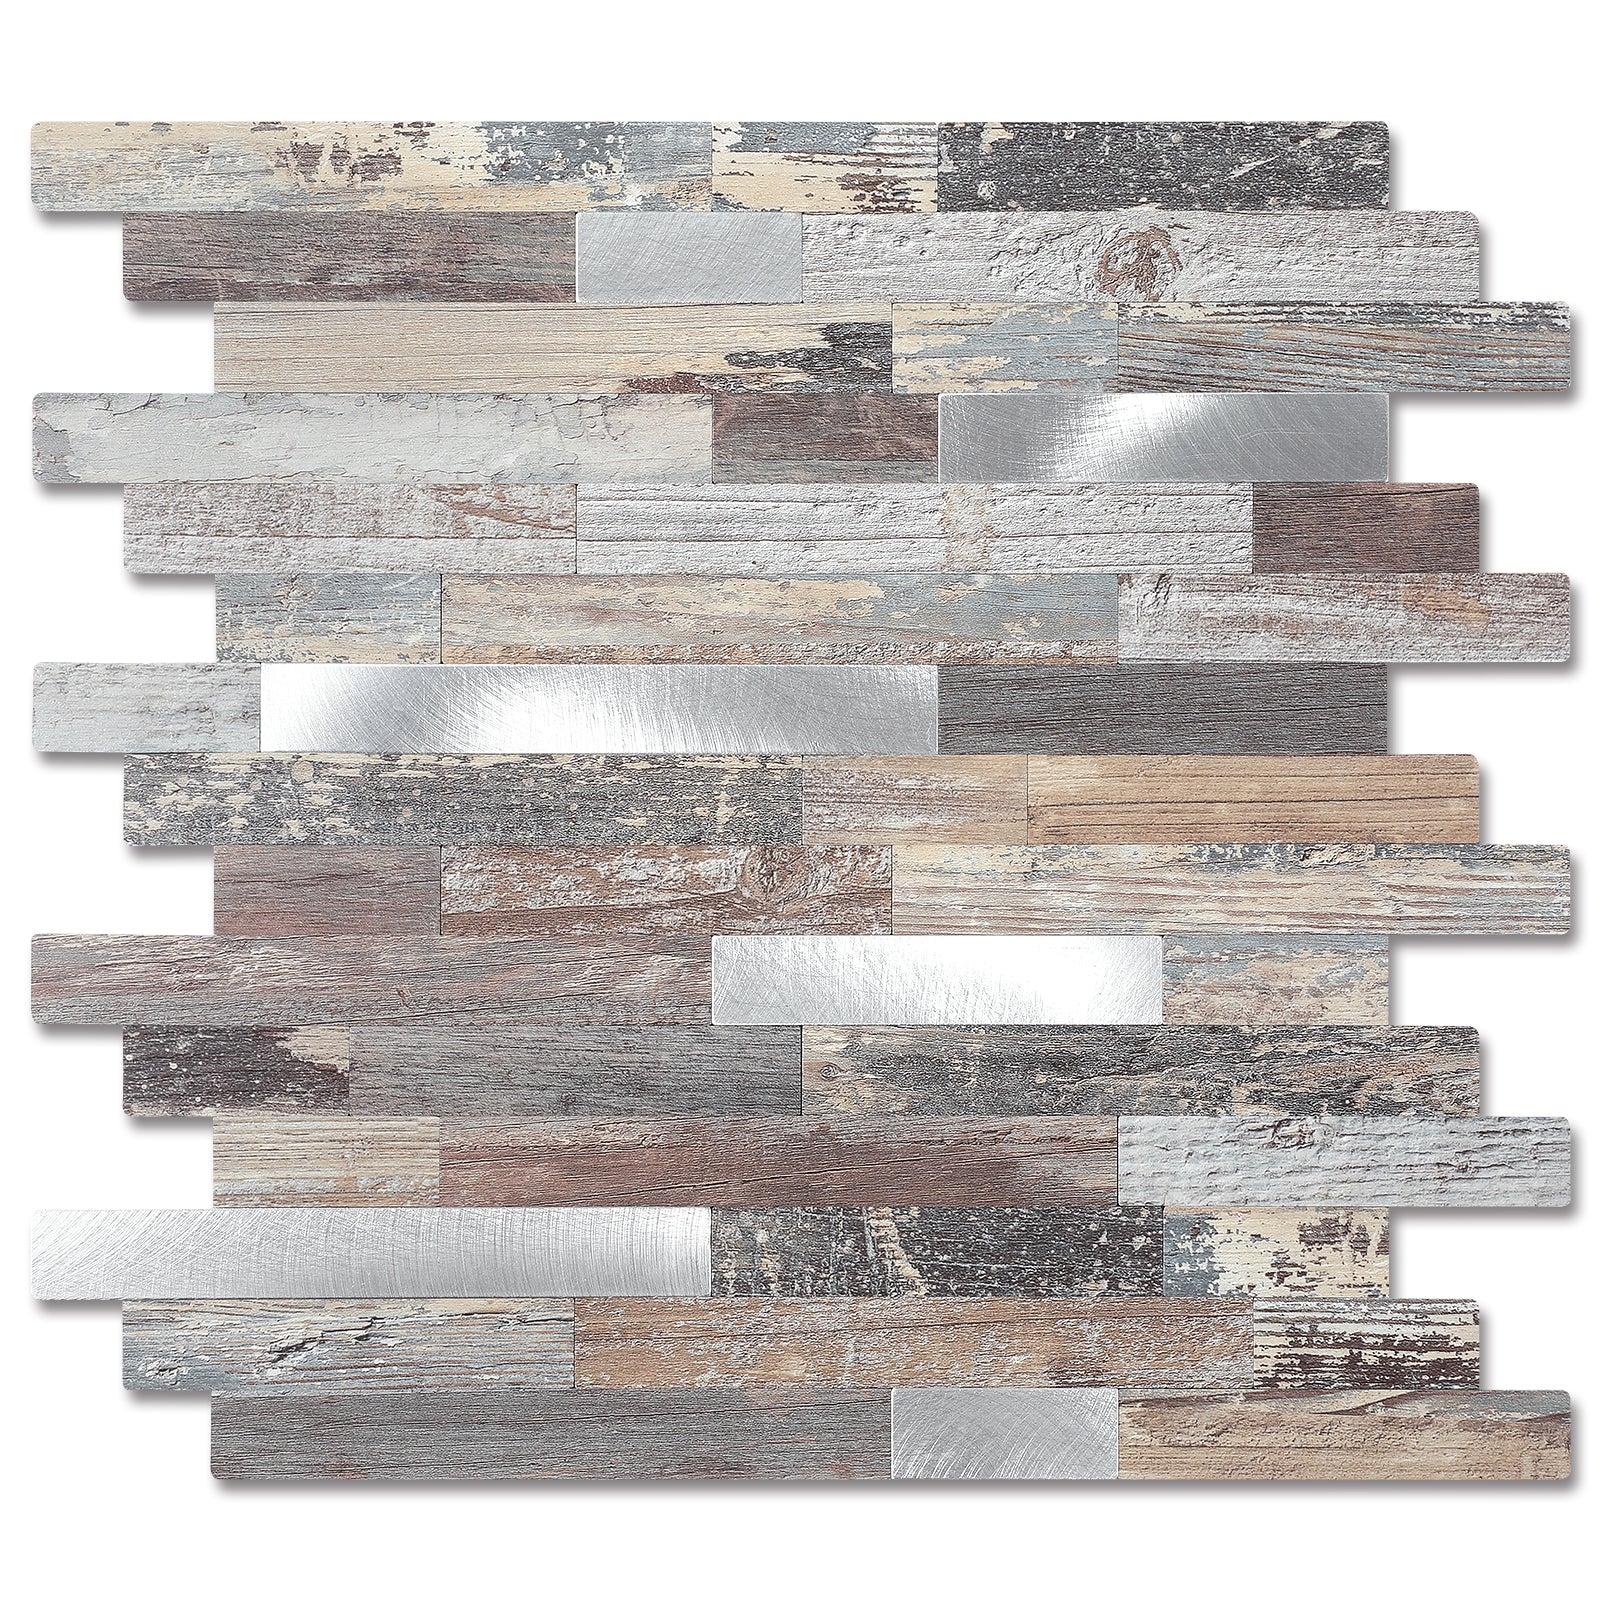
One of the most common choices for homeowners is PVC wall panels because
You can install wall panels over existing tiles, but not under all conditions. Here are a few materials to avoid:
Material |
Why Avoid It |
Practicing natural wood paneling in wet rooms |
Over time, it can be affected by the absorption of moisture that may lead to warping or swelling, cracking, or rotting. |
Thin vinyl stickers or peel- and-stick tiles not properly sealed: |
In high-humidity areas, it may not adhere, peel off, or hold moisture behind the surface. When to install over old and broken tiles: |
Forming an unstable foundation, which may lead to wall panel failure |
Can increase risk in the future |
Skipping edge and joint sealing |
Causes water to get behind the panels, which may create mold and mildew conditions and moisture damage. |
What to check |
What to look for |
Tap Test |
Tap each tile. A firm sound is acceptable, but a hollow sound could mean that a tile is loose, needs re-adhering, or replacing. |
Crack Check |
Check for cracked, chipped, or damaged tiles. Repair or replace them before the installation of wall panels. |
Moisture Test |
Notice any moisture damage, damp areas, mold, or any leaking, particularly near showers, sinks, and fixtures. Advise the treatment of water problems first. |
Flatness Test |
Use a spirit level against the wall to see if there are no level areas. For a solid installation, a fairly level surface is critical. |
Grout condition |
Make sure there is no missing, crumbling, or cracking grout. Wall panels can cover grout lines, but when it is damaged in a crack, it may be a sign of hidden moisture or structural issues. |
1. Clean Thoroughly: Soap, grease, and dirt residue have to be degreased and removed using sugar soap or a degreaser. The surface has to be clean when using adhesives.
2. Dry Completely: Walls have to be dry for at least 24 hours before installing. Adhesives and finishes can be affected if moisture is retained.
3. Rough Up Glossy Surfaces: Glossy surfaces smooth out adhesives, so tiles have to be lightly scored or sanded.
4. Repair Loose Tiles: Loose or damaged tiles have to be replaced to ensure an even base for the panels.
5. Measure Accurately: Accurately measure the wall and strategically position each panel to reduce cutting and waste.
6. Dry-Fit the Panels: Place panels without adhesive to ensure fit, alignment, or difficult areas around sockets, pipes, or corners.
7. Plan for Trims: Plan for trims where they're needed for neatening and providing your project a professional look, including internal corners, end caps, and starter trims.
8. Apply the Adhesive: Apply a "grab" adhesive (without solvent) or silicone-based adhesive recommended by the panel manufacturer. Use in a vertical bead on the reverse side of the panel.
9. Position the Panel: Carefully set against the tiled wall, pressing evenly and strongly to form a good bond.
10. Hold It in Place: Secure the panel with masking tape until the glue has set, as per the manufacturer's directions.
11. Seal all of the joints and edges: Seal with silicone at corners, joints, shower trays, and cut edges. This is the critical requirement; if the wall panel is not well sealed, water can flow behind the panels.
12. Attach the Trims: With the finishing trims, corner trims, and end trims firmly in place, you'll ensure the wall panels have a sleek look.
13. Carry out A Last check: The last checks should be made on all the panels, seals, and all edges to ensure that the installation is complete and is leak-proof.
Pros:
Cons:
Before installing all panels, test the adhesive bond using a small trial piece.
No. The adhesive will adhere better to a lightly sanded tile surface that has been cleaned before it is glued.
When water is trapped behind the wall panels, mold, mildew, and wall damage are possible. This can be prevented by proper sealing of all joints and edges.
If installed properly and maintained well, high-quality wall panels will last for 15–20 years or longer.
Yes, but always make sure you use wall panels that are 100% waterproof and ensure all connections and edges are secured with quality silicone sealant.
Yes, a portion of the wall panel will have to be removed for future repair, for pipes and wiring connections behind the wall.
Covering existing tiles with wall panels is a cheap and fairly easy alternative for transforming your space, since it does not require you to remove the old tiles. To ensure a seamless and successful installation, all you need to do is evaluate the suitability of your old tiles, make adequate preparations for the surface, and meticulously seal all edges and corners to prevent any humidity from penetrating the surfaces. If your current tile surface is perfectly flat, adheres well to the sub-surface, and is in great condition, then covering it with wall panels could be an excellent solution to introduce you to a fully modern look that is waterproof and simple to maintain. You need to take careful notice when selecting adequate wall panels for your specific use and plan each installation aspect before you begin. Have you ever covered existing tiles with wall panels and found it easy? Tell us what you think!


