


More Than Just a Utility Room: Design a Laundry You Love with Peel and Stick Tiles
|
|
Time to read 8 min
|
|
Time to read 8 min
The laundry room is one of the hardest-working rooms in your house. We use it for washing, drying, storage and day-to-day housework. However, the laundry room is the most ignored corner of the house when being designed by homeowners. Due to which it looks plain, dull and boring.
But what if I tell you that a little transformation to your laundry room can impart a big impact? It is possible to imagine transforming the place where you spend most of your time into a more welcoming, relaxing and stylish. A properly planned laundry room is not only attractive, it is also comfortable to use in conducting daily chores. The laundry day is not a chore when the space is clean, tidy and bright.
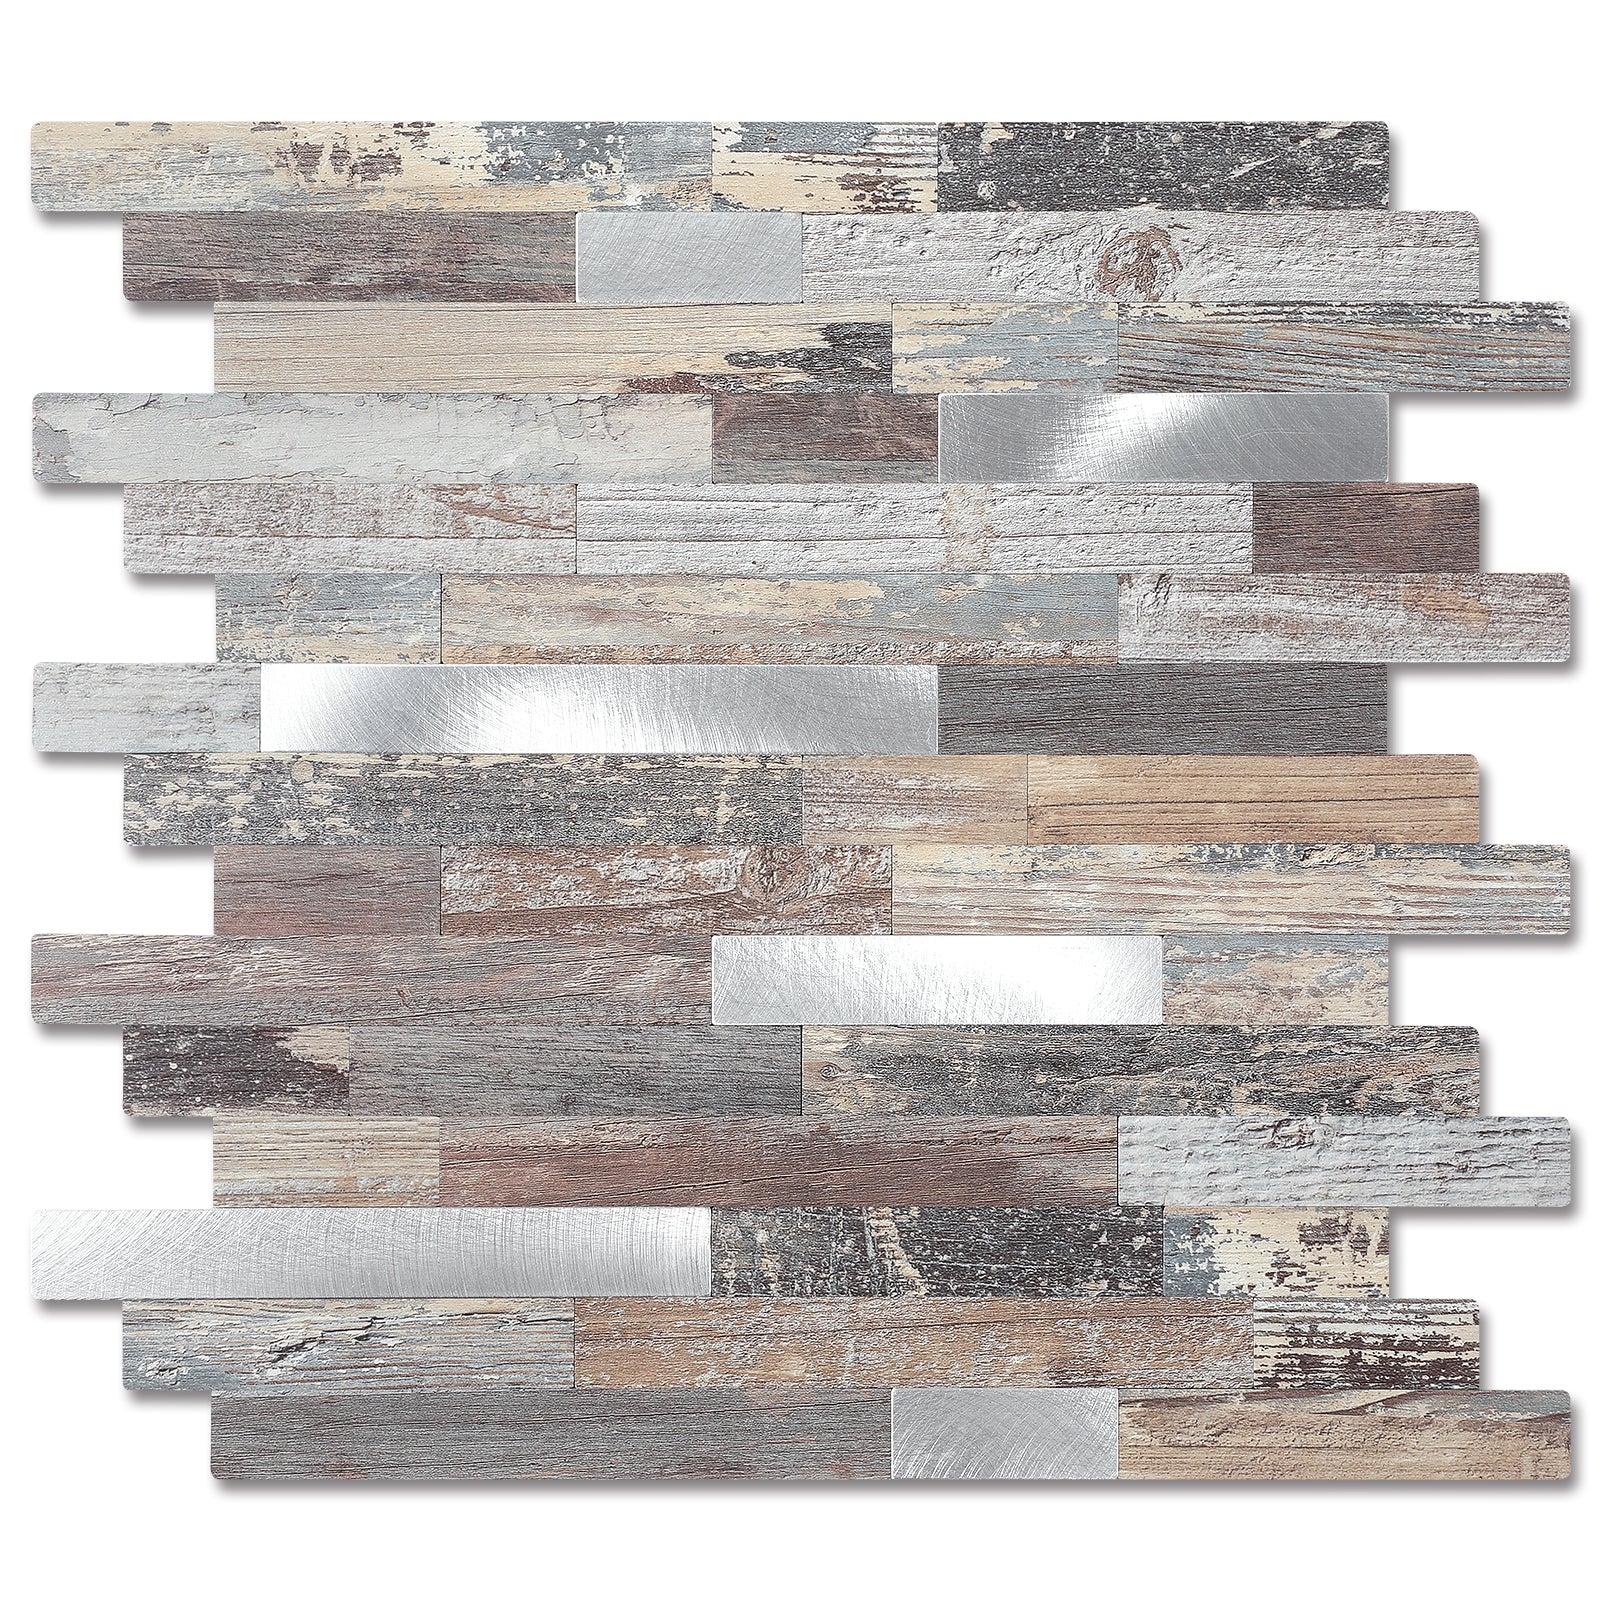
Most of the laundry rooms are unappealing due to dull walls, flaking paint and adverse signs of wear and tear. It is where peel and stick backsplash tiles come in. peel and stick backsplash tiles for laundry rooms are a simple but effective way of giving your laundry a quick makeover. These tiles are cheap, waterproof, easy to set up and stylish, exactly what one would need to replace his or her laundry room fast. This guide will enable you to leave behind an old and simple laundry room. You will get to know about inventive design concepts, clever layout, and simple step by step installation instructions.
Make your laundry room fresher and modern and use peel and stick backsplash tiles.
This section validates the choice by linking product features to laundry room-specific needs.
1. Waterproof and moldproof properties: Washers and dryers emit considerable moisture to the air. This humidity may corrode walls over time and lead to mold growth. Most peel and stick tiles are completely water-resistant, which will keep your walls out of steam, splashes, and dampness. This allows them to be a practical option in both laundry rooms and basements, as well as in small utility rooms.
2. Stain and splash protection: Splashes of detergents, fabric softeners, and even bleach are quite frequent. Peel and stick tiles form such a smooth surface that it is not porous to stains. They are very easy to clean using a wet cloth, which consumes less time and effort.
3. Strong enough for daily use: The use of the laundry rooms is frequent, even several times a day. Peel and stick tiles are designed in such a way as to accommodate bumps caused by baskets, carts, and other moving machines. They remain there and maintain their look in noisy houses.
1. The installation is quick and easy: You do not require special equipment or expertise. The majority of peel and stick tiles are simple to place within a few hours. It has no grout, dust, or long wait period. That is, you can complete your makeover of a laundry room within a weekend.
2. Easy to remove and change: Peel and stick tiles are the best when you rent your house or want to change the decor. It is possible to remove a great number of options without harming the wall below it. The style is easily updated in case of a change of style.
3. Stylish look on a budget: There are numerous designs of peel and stick tiles that include subway tile, marble, stone, and patterned tiles. They make your laundry room look clean and in a modern style at a fraction of the cost when compared to conventional tiles. You feel luxurious without having to spend a significant amount of money.
Peel and stick tiles for the laundry room have the ideal combination of fashion, durability, and ease, which is exactly what a laundry room calls for.
You do not need to put tiles on all the walls, and then you are changed on a large scale. Intelligent strategic positioning can provide a personality and functionality.
Here is the complete step-by-step guide for installing a backslash in your laundry room like a pro.
1. Clear & Clean: The first step is clearing all the laundry room essentials and cleaning the walls. Because a backsplash won’t stick on dirty or greasy walls. You can use a degreaser or a substitute to clean the walls.
2. Dry & Assess: after cleaning, let the walls dry. Fill out the holes or bumps for smooth sticking.
3. Turn Off Power & Remove Covers: turn off the power sources and cover the switches and outlets safely.
1. Find Your Center: The next step is planning and layout. Measure the center of the wall and mark it with a pencil behind the washer or dryer in the laundry room. Finding a center will help you stick the backsplash perfectly.
2. Dry Fit: Dry fit always helps homeowners avoid the mess. First, lay the tiles on the floor. Check out how the tiles, length, dimensions, corners, and edges will fit on the wall.
1. Start from the Center:
Start installing the tiles from the horizontal center outward. In this way, the tiles will fit in a symmetrical pattern without creating a mess.
2. Use the "Hinge Method":
using hinge method is very useful in sticking the backsplash tiles. You need to peel a few inches of the backsplash first, stick it, and then peel off the rest of the backsplash tile and place it along the wall. It will prevent the formation of bubbles and make the installation smooth.
3. Cutting for Precision: Mark and cut the tiles carefully with a sharp knife. Cut out the delicate points, especially curves and edges, carefully to make the installation professional.
4. The Professional Finish: Last but not least, seal the edges with caulk. Make sure to seal the tiles where they meet cabinets, countertops, or side walls to prevent mold.
1. Let it Set: Let the tiles set for 24-48 hours before exposing them to water or moisture for long-term adhesion.
2. Reinstall Covers & Enjoy: Reinstall the outlet covers and uncover the switches, and your tile backsplash is ready to use.
Peel and stick tiles, which are of high quality, can withstand normal heat and humidity, though they must be placed a few inches below direct dryer vent heat, and also have long-term durability.
Peel and stick flooring is only bonded well to smooth wall surfaces, and thus it is advisable that some slightly sanded or skim-coated textured drywall be textured in advance to attach the tiles properly.
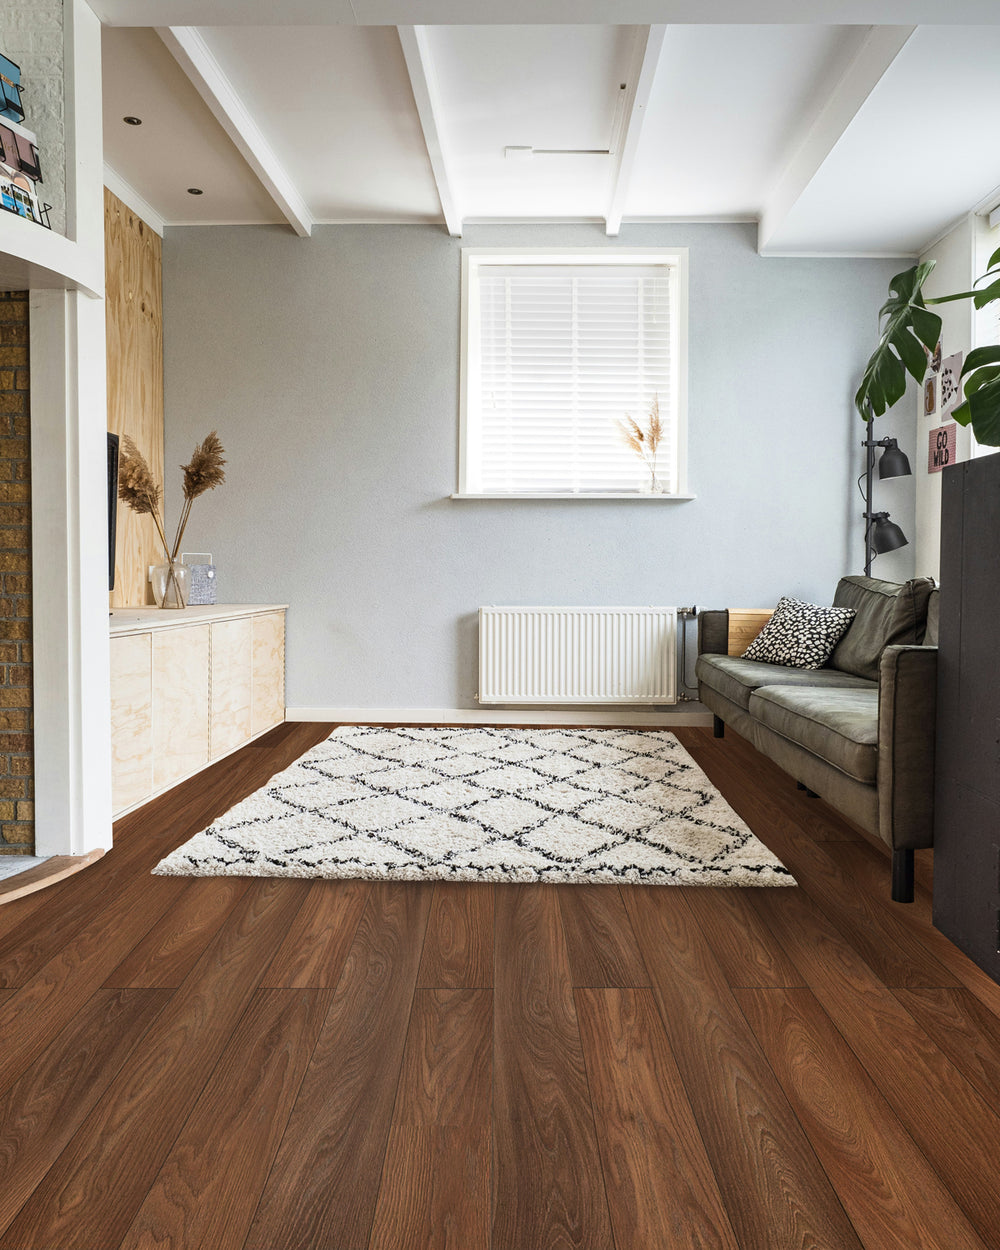
Choose tile colours or patterns to match your cabinets and the flooring to ensure that there is an overall look and feel of visual harmony.
It is cheap, right, and most peel and stick tile projects cost between 100 and 300 Dollars including materials.
The tiles can be cleaned by wiping them with a damp cloth and a mild cleaner regularly; it is important to avoid harsh cleaning agents that will ruin the finish on the tiles.
You do not need to make laundry a boring day. With such simple upgrades as peel and stick tile on that wall in the laundry room, you can transform your laundry room into a fresh, organized, and pleasant space as a homeowner. This little modification will change the world; it will make you like your daily chores better and make your home worth more. You feel good using a laundry room that looks good. It is high time to find out what your space can be. Pick your favorite style, get your supplies, and spend a weekend making a laundry room that looks welcoming and is best suited for your everyday chores.


