


How to Choose the Perfect Kitchen Backsplash Tiles
|
|
Time to read 6 min
|
|
Time to read 6 min
Kitchen backsplash tiles are regarded as the beauty of the kitchen, thanks to the several aesthetic features they offer. While backsplash tiles protect your kitchen walls against splashes, greases, and spills, they take the role of the focal point of the room.
Hence, choosing the right backsplash tiles can help elevate the look of your kitchen and create the right impression.
Thankfully, you no longer have to struggle to install your backsplash tiles, thanks to the DIY friendliness of peel and stick tiles. With the self-adhesive feature of peel and stick tiles, you can design your kitchen yourself without hiring the services of an installer.
This guide provides you with all you need to know when choosing the right backsplash tiles for your kitchen.
A few reasons justify why homeowners are ditching tradition tiled backsplashes for peel and stick tiles. These reasons include:
One impressive reason is the elimination of installers. Since peel and stick tiles come with a strong adhesive backing that sticks to the wall easily once you peel the protective sheet, installation is seamless, and you don't need an installer.
Of course, you don't need any special tools to install your kitchen backsplash tiles. With a utility knife to peel the protective sheet and a roller to smooth the tiles, you can install your tiles in a matter of minutes.
Interestingly, you don't deal with grout during installation or drying time. Plus, you can easily remove your tiles without leaving any residue behind or causing damage, which makes this option of backsplash ideal for rentals or homeowners who like changing their kitchen style frequently.
Peel and stick backsplash tiles only cost a fraction of traditional backsplash. This is understandable since traditional kitchen backsplashes are made from ceramic and stone, which require intensive work to manufacture.
With a budget of $5-15 per square foot, you can have your kitchen decorated with your choice of style.
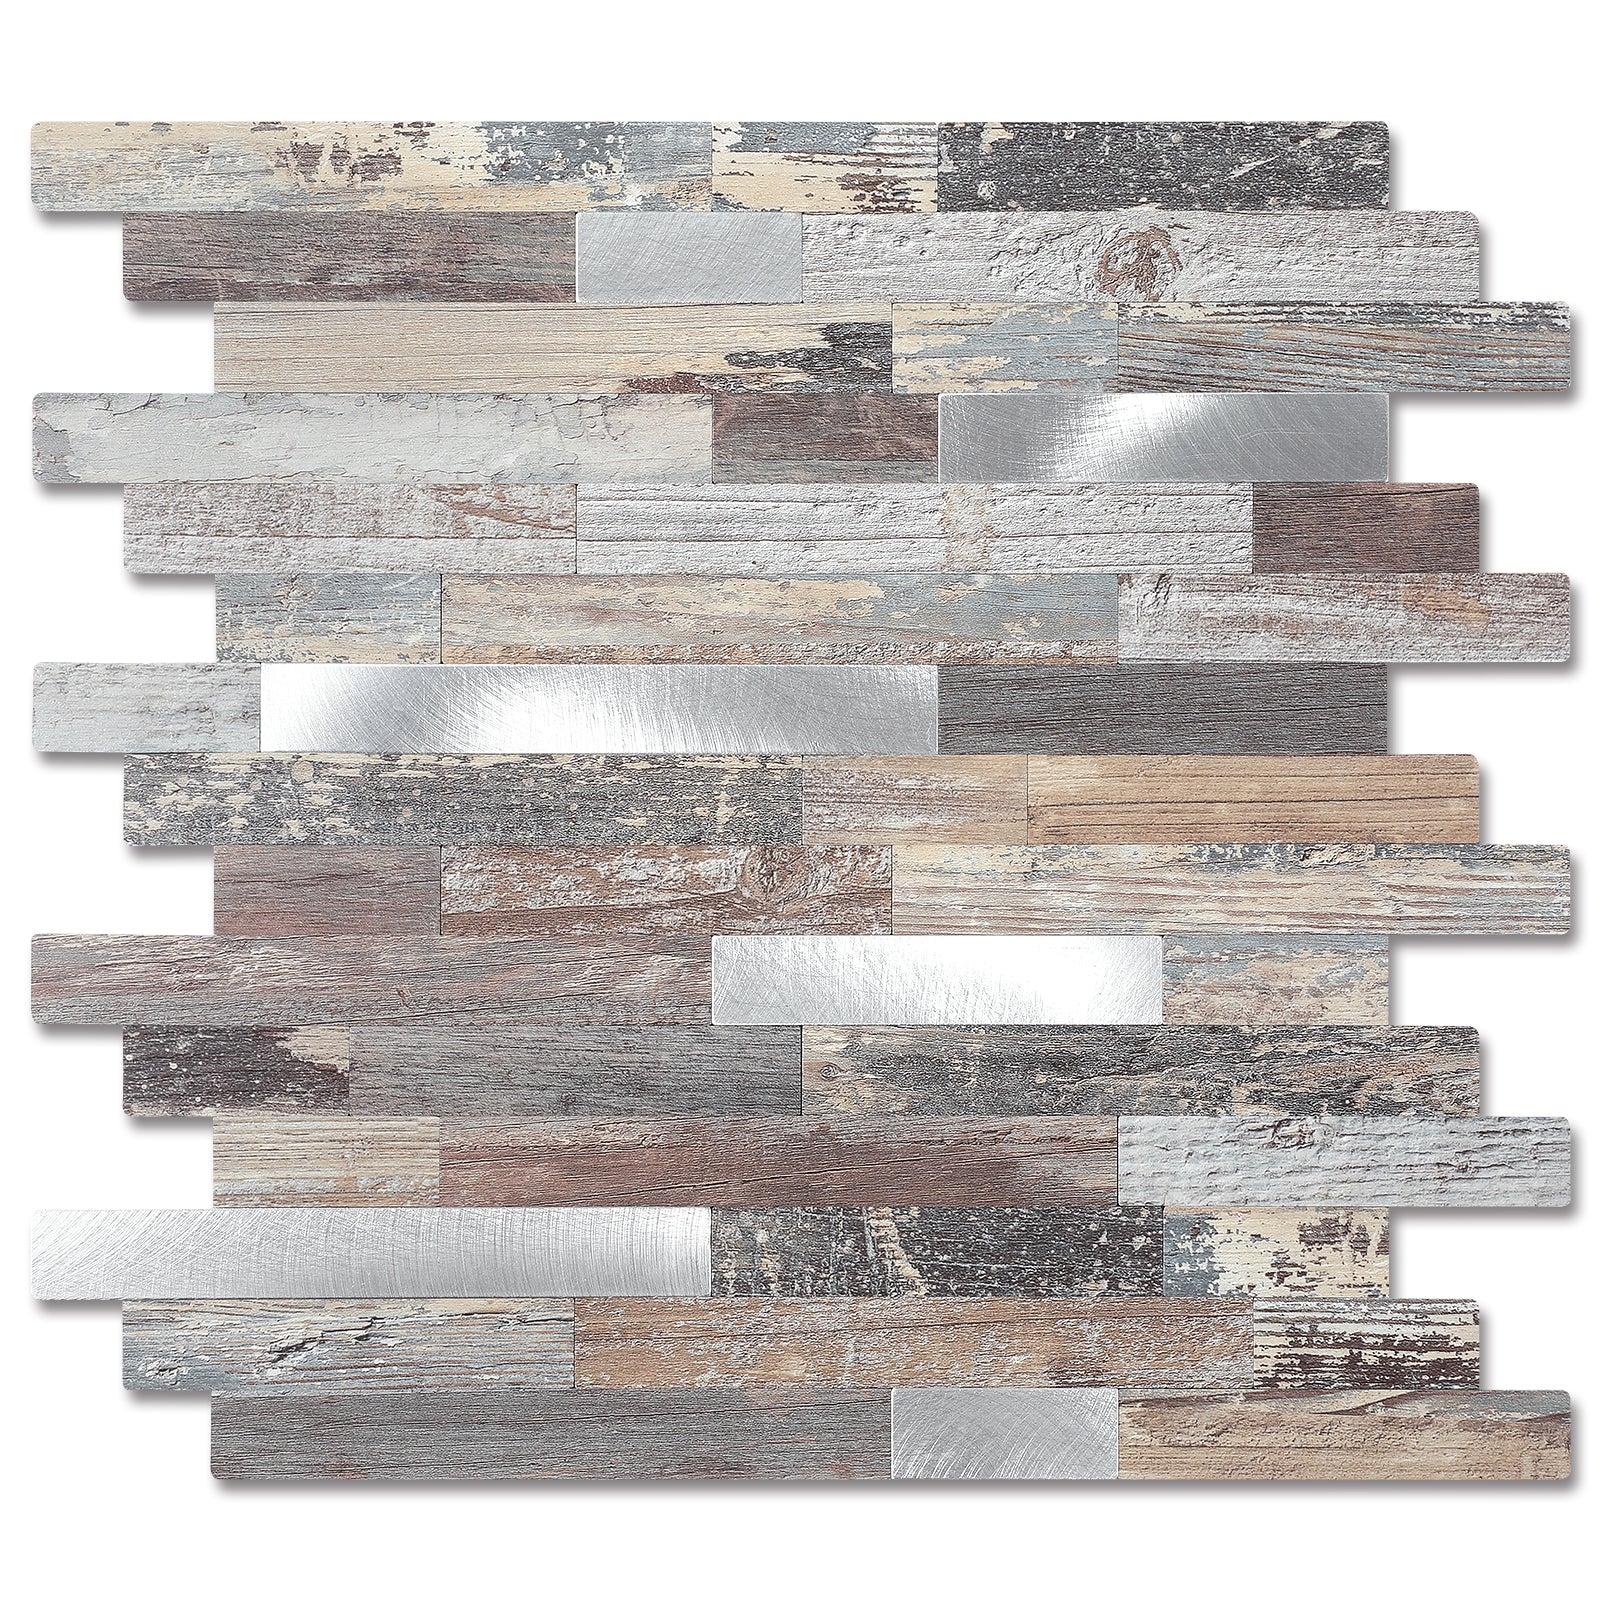
When it comes to design, we differ in tastes and styles, and hence our choices of colors and patterns differ. Kitchen backsplash tile manufacturers have recognized this uniqueness in taste and offer a wide range of colors, patterns, and textures.
The appearance of these tiles mimics premium materials like subway ceramic, natural stone, and luxurious marble, creating the impression of traditional backsplashes.
Your journey to achieving the right look in your kitchen starts with selecting the perfect backsplash tiles with a balance of functionality, aesthetics, and lifestyle. Here are a few considerations to help you make confident choices.
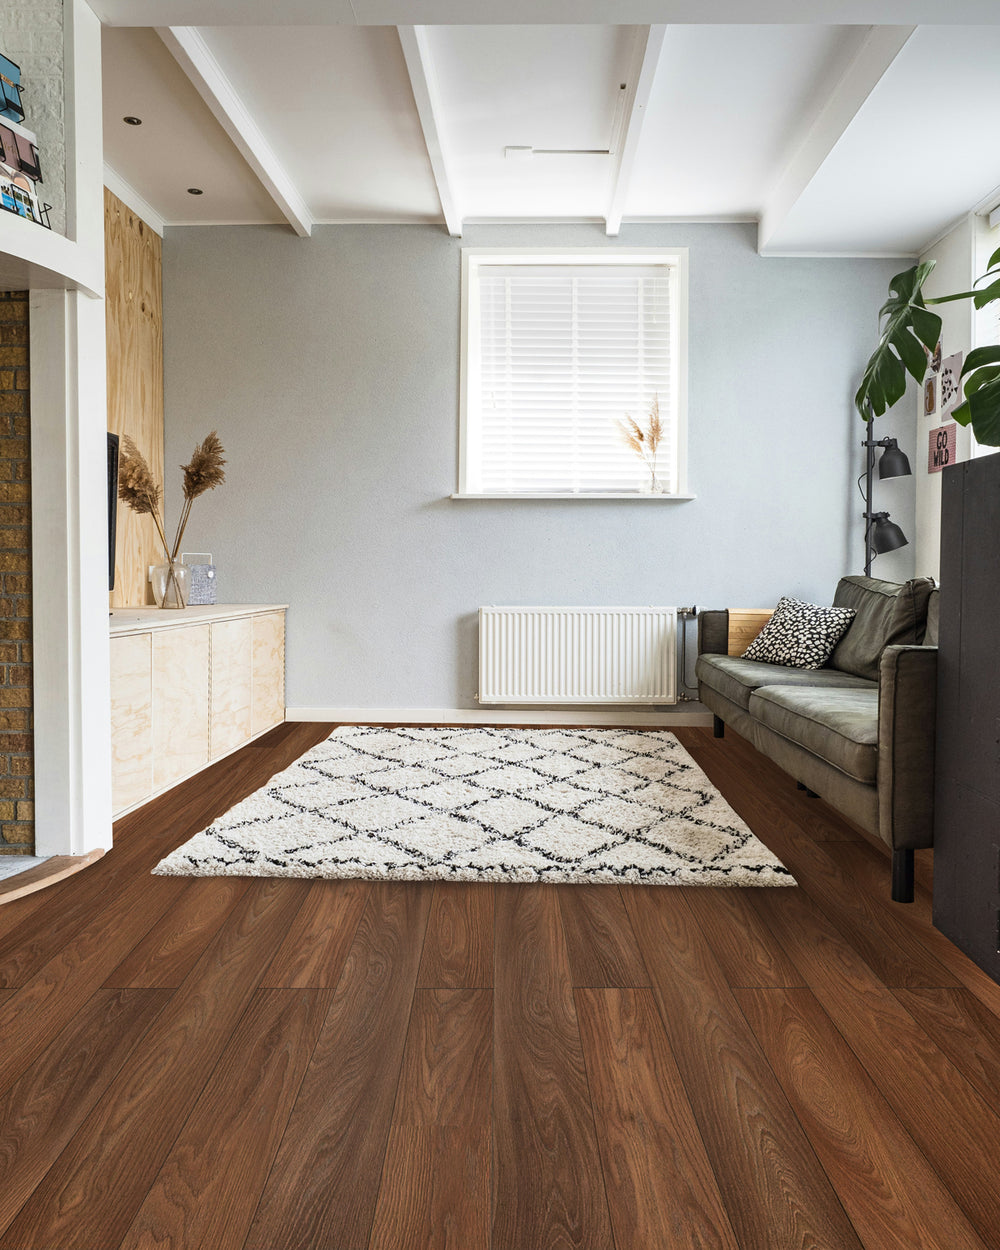
Your kitchen style is the best place to start your tile selection from. Depending on your choice of style and the impression you want to create in your kitchen, choose the backsplashes that suit your dream aesthetic.
For example, if you cherish a sleek modern look, go with large-format neutrals or options with clean subway. If you aim to create a farmhouse design, aim for shiplap-inspired tiles. Traditional kitchens look well with herringbone patterns, while traditional kitchens wear metallic and concrete-looking tiles perfectly well.
Regardless, you want to consider trending designs. Subway tiles are often used in designing the whole kitchen wall from the floor to the ceiling to create a bold statement and a natural look with some sense of sophistication in the kitchen.
While patterns matter, colors also play a huge role in selecting the right backsplash tiles for your kitchen. If you own a small kitchen that you would like to make airy, go for light shades like white and pastels since they reflect light. Conversely, darker shades like navy, charcoal, and black help add mood and contrast to the space and are a better option for larger spaces.
Peel and stick tiles are majorly made from vinyl and PVC but with different quality levels. What greatly differentiates these tiles is their coatings, which give them their unique looks.
Here are common finishes you will come across when making your choice of backsplash tiles:
Finish Look |
Best For |
Pros |
Cons |
Kitchen Practicality |
Subway Ceramic |
Modern/Classic |
Timeless and easy to clean |
Can look flat if low-quality |
Excellent, neutral, and durable |
Marble |
Luxe/Elegant |
Sophisticated veining |
Shows fingerprints easily |
Good and wipeable surface |
Natural Stone |
Rustic/Organic |
Textured realism |
Heavier feel needed for depth |
Great for moisture resistance |
Metallic |
Industrial/Glam |
Reflective shine |
Can scratch over time |
Adds light and avoids high heat |
Geometric/Pattern |
Bold/Contemporary |
Personality boost |
Busy patterns overwhelm small spaces |
Fun accent and easy maintenance |
Standard kitchen backsplash tiles come in 10x10 or 12x12 sheets, but some sheets look larger than they are, while some look smaller. Options with the impression of larger formats do better in small kitchens by making the space look expansive.
Layouts are available in different options, from straight stacks for minimalist lovers to offset brick bonds for classic style. Regardless, plan alignment carefully for optimal alignment.
Before shopping for your tiles, calculate the square footage of your kitchen walls and add at least 10% for spares. Plus, since installations come with cuts and errors, the 15% margin will help protect you against wastage.
Another tip for selecting a perfect backsplash is to order samples of your choice of colors. Keep in mind that colors appear differently under different lights.
Here are a few pro tips to prepare you for your tile selection and installation:
You can get inspiration about the perfect peel and stick tiles for your style online or in magazines. Follow this by measuring the backsplash area by multiplying the height by the width and subtracting the cabinet and appliances areas.
Pick your style and ask your supplier if they can send you samples to have a better idea of what you are investing in. Don't forget to buy extra tiles, at least 10% of your estimated backsplash area.
How much preparation goes into your installation surface influences the final result you will get from your installation. Clean the surface with a vinegar solution or any degreaser product to remove grease, old residue, and dust. You also want to fill holes and ensure the wall is dry before installation.
Start your backsplash tile installation from a corner. Peel the backing halfway and stick firmly to the wall as you unpeel the other half. Stick firmly and smooth, and remove bubbles with a roller. In the absence of a roller, use a credit card or any similar object. Your utility knife comes in handy when you need to make a cut to accommodate outlets or windows.
Peeling of tiles often starts from the edges. Hence, it makes sense to ensure that the edges are secure by pressing thoroughly against the surface. Some options come with trim pieces for polished ends.
The answer is "it depends". Most brands of peel and stick backsplash tiles, like YIPSCAZO offer products with heat- and moisture-resistant properties. Regardless, choose products with up to 180°F near burners.
Your choice of peel and the installation process both work together to determine the final look of your peel and stick backsplashes. For a quality look, go for thick tiles and prepare the surface well before installation.
Removing your stick and peel tiles is as easy as the installation. Start by heating with a hairdryer to soften the adhesive and peel from a corner. While most peel and stick tiles peel without residue, remove residual adhesive with adhesive remover.
Giving your kitchen a stunning look doesn't necessarily require a complete kitchen renovation that takes time and eats deep into your pocket. Peel and stick tiles offer the benefits of simplicity and affordability while creating a unique space in your kitchen.
Thanks to their ease of installation and removal without residue, you can explore your DIY skills and give your kitchen the look it deserves without hiring an installer.
Shop for your quality kitchen backsplash tiles from our list of wall tile backsplashes.


