


The Ultimate Guide to Cutting Floor Tiles: Tools & Techniques for Every Material
|
|
Time to read 5 min
|
|
Time to read 5 min
The walls, corners, door frames, and plumbing fixtures all require tiles that are highly moulded. The achievement of a refined and professional appearance in the floor does not only rely on laying the tiles closely together, but also cutting them in the right way. There is much more than straight lines in cutting floor tiles.
A lot of projects will need the L-shape cuts, circles in the form of pipes, and smooth shapes around the toilets or columns. Such cuts are capable of destroying tiles and blowing up the budget unless an appropriate methodology is applied. This manual guides you on how to cut various types of floor tiles. It provides you with the knowledge to get the right results with certainty by matching the tools and techniques to the right material, including ceramic, porcelain, natural stone, and luxury vinyl.
Table of Content
The secret of effective tile cutting is proper planning. There is a reason why the proverb of measure twice, cut once exists: inaccurate measurements result in material wastage and asymmetrical layouts. Tiles should be laid dry before cutting off and in the middle of the room, then going outward. The approach generates a visual balance and avoids the embarrassingly thin tile pieces on the edges.
Measuring is just as important as the proper marking. A straight cut may be drawn with a pencil and a straightedge to provide a clear guide to the blade. A contour gauge is essential for irregular forms of pipes, toilets, or curved fixtures. It records the shape of the obstacle precisely, and then it is transferred onto the tile.
Safety preparation is also very important. Cutting tiles leaves sharp pieces and fine dust, which can cause harm if inhaled. Safety goggles are needed to shield the eyes. Gloves are necessary to stop cuts on sharp edges, and a dust mask or respirator is mandatory, especially when it comes to dry-cutting porcelain or stone, which throws out silica dust. Wearing proper protective gear must come before any cutting takes place.
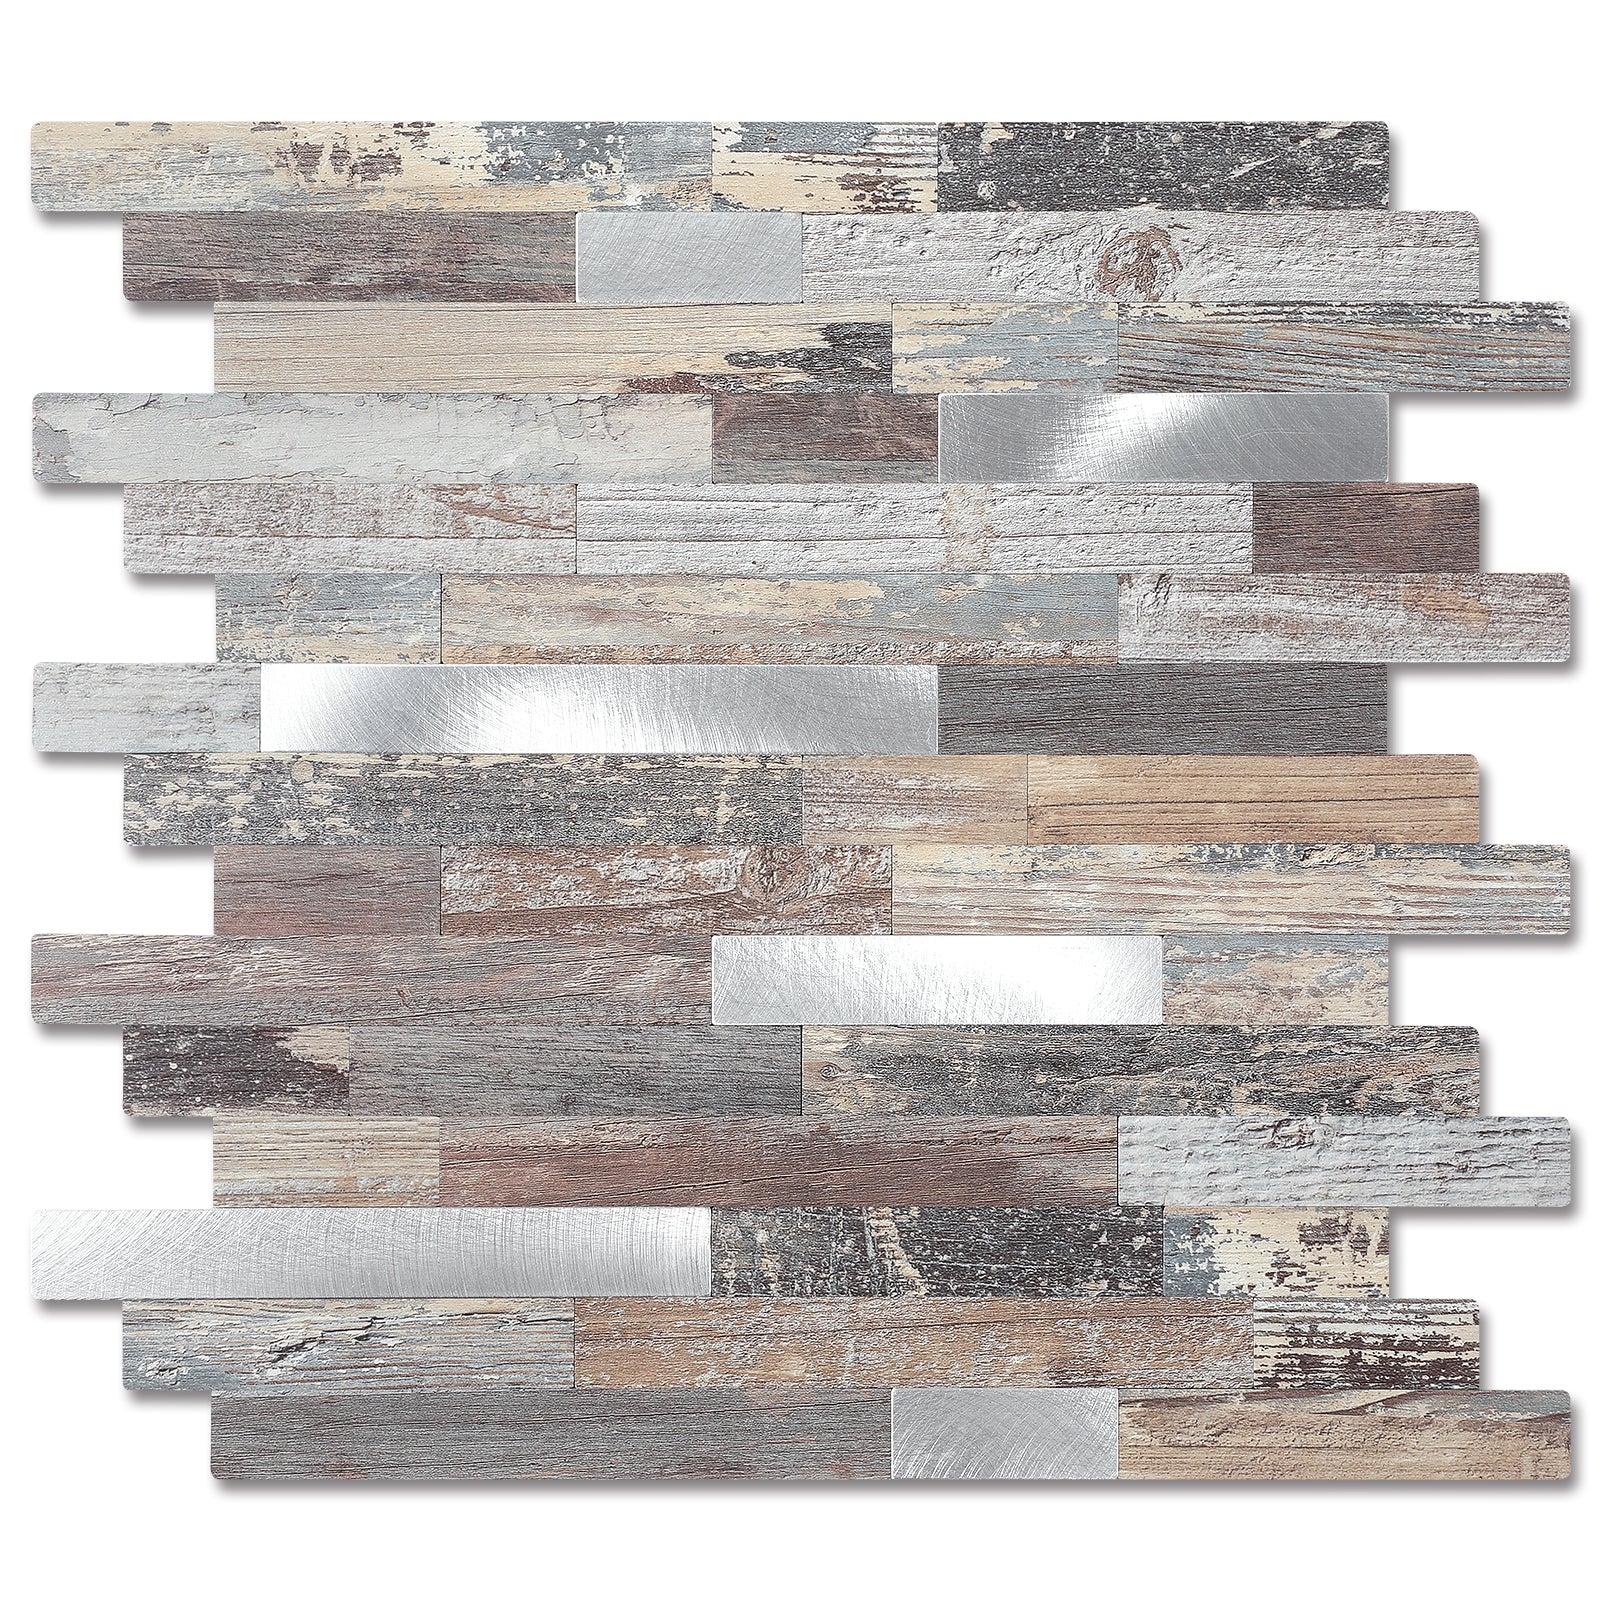
The various tile materials react to cutting tools in very different ways. The ceramic tiles are fairly soft and can be cut with relative ease using a manual snap cutter to make straight lines. The tile nippers or the wet saw measure up well in curves and other minor cuts, whereas the angle grinders need to be applied with caution because they are aggressive.
Porcelain tiles are highly dense and demand powerful instruments. The wet saw is equipped with a diamond blade that offers the best alternative for making straight cuts, particularly on thicker tiles. A heavy-duty manual cutter should still be able to cut thin porcelain. However, curves usually require a wet saw or angle grinder with a diamond blade.
Natural stone tiles like marble, granite, and slate prove to be the most difficult. A wet saw with a good-quality diamond blade is virtually needed for these materials. Special stone tools may be used in complex shaping. Stone should not be cut with manual snap cutters, as it can easily crack. Amateurs are highly recommended to involve professional help whenever dealing with costly or delicate stone tiles.
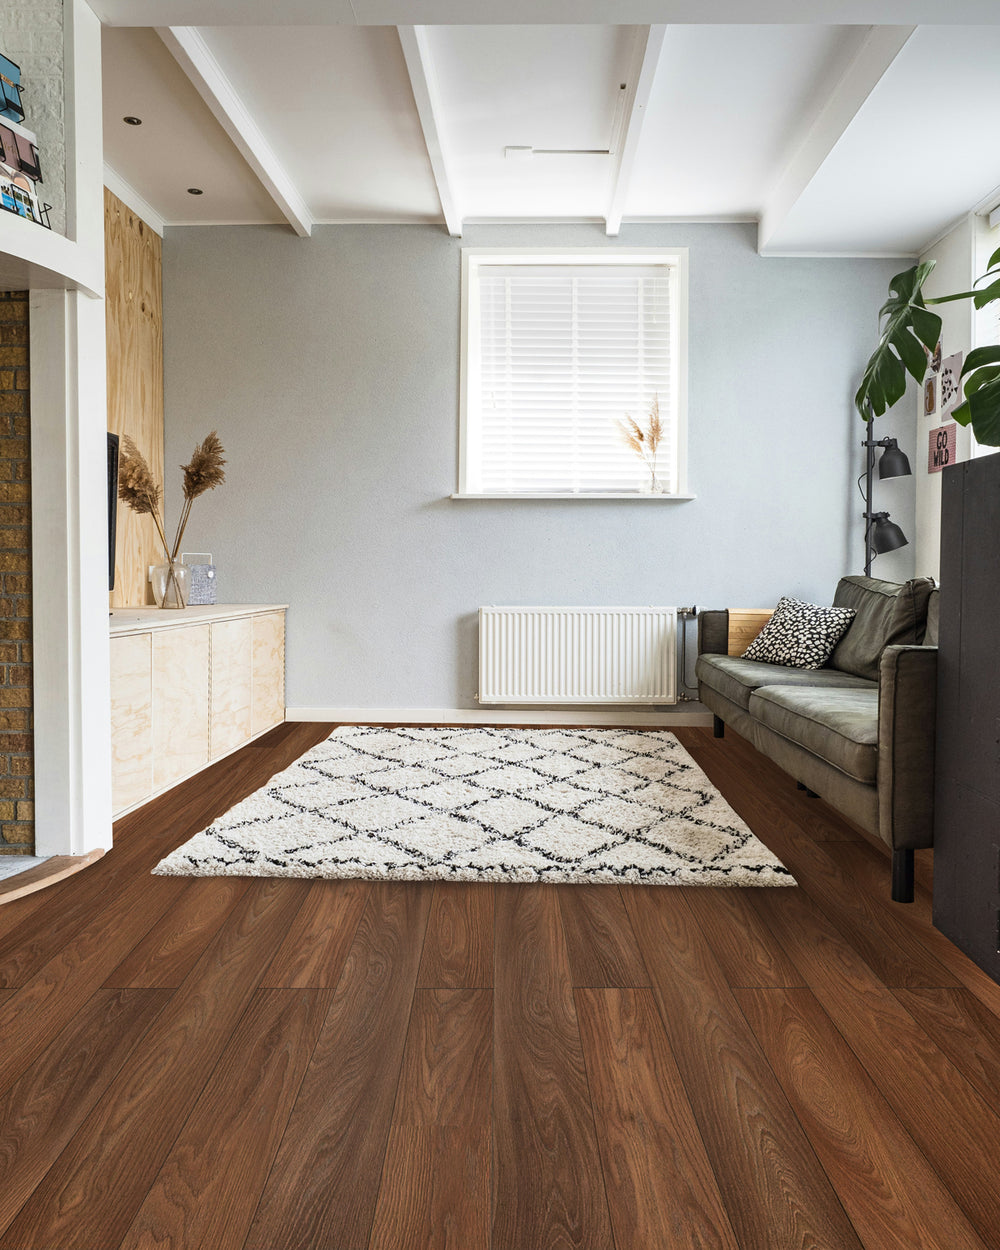
The easiest to cut are luxury vinyl tiles and planks. Straight cuts are normally made with the help of a utility and a metal ruler, and soft curves can also be scored and snapped. No heavy cutting equipment, such as the wet saw or the angle grinder, is needed.
In the case of straight cuts with a manual tile cutter, you will start by measuring the tile and marking it effectively.
The tile is placed over the scoring wheel of the cutter, where the tile is firmly scored in a single pass. The cutter lever is used to press the tile sharply along the scored line in order to create even pressure. The water tank that was fitted in a wet saw should be filled to cool the blade and dampen dust.
Once the tile is marked, it is put on the sliding table and moved with the blade using soft pressure. The trick is patience here: pressing the tile adds to the probability of chipping or fracturing.
Cracking is prevented by supporting the cut finishes on both sides of the tile.
All types of curved or notched cuts begin with a precise marking, usually with a contour gauge or template of cardboard. The first step should be to remove large waste areas using a wet saw or an angle grinder.
The curve is then refined with a tile nipper. Lastly, the end cut is polished using sandpaper or a rubbing stone.
Hard ceramics, such as porcelain, demand blades of diamond that cut hard tiles. Surface chipping can be prevented by applying masking tape over the cut line.
Natural stone requires additional consideration; a gradual cut is done as a way of preventing cracks along natural veins. A stone that is sealed prior to cutting can avoid getting stained by water and dirt around porous areas. Nevertheless, marble with a high level of veins, fragile slats, or stone tiles of a large size can be easily damaged, which is why qualified installation is a reasonable decision.
Luxury vinyl tiles and planks typically only require a sharp utility knife. A straight and deep scoring followed by snapping along a straight-edge yields clean results. Rigid-core vinyl can be cut using a fine-toothed handsaw or jigsaw to achieve the best results.
Once cut, every one of the tile edges must be smoothed to eliminate sharp or jagged edges. This will enhance safety and provide a clean outlook.
All the cut tiles should be dry-fitted before adhesive is used. This last check is to ensure that tiles are properly aligned, and a minor adjustment may be made before the tiles can be permanently installed.
To attain clean and precise tile cuts, it is important to know the material as well as the tool. Even complicated cuts can be handled when the necessary equipment is used, and the planning and safe methods are followed. Although cutting tiles with a DIY tool can be satisfying, some materials, particularly natural stones, require a high level of skill and specialized equipment. The focus on safety and working slowly will enable you to produce a clean and visually elegant floor that will testify to the skill in its crafting.
Many manual cutters cannot cut porcelain. Clean cuts should be made using a wet saw with a diamond.
Yes, but it produces heavy dust and is not so accurate. A wet saw is more accurate and cleaner.
Drill slowly using water and a diamond hole saw.
Marble cracks easily. Doing it on your own is risky, and it is usually safer to hire a professional.
Beginning with the bulk of waste cut away using a wet saw or angle grinder, then improve the shape in minute steps using tile nippers. It is also useful to take little bites and rub the edge back to avoid cracks and breakage.


