

Light It Up: How to Add LED Lights to Your 3D Wall Panels
|
|
Lesezeit 7 min
|
|
Lesezeit 7 min
Table of content
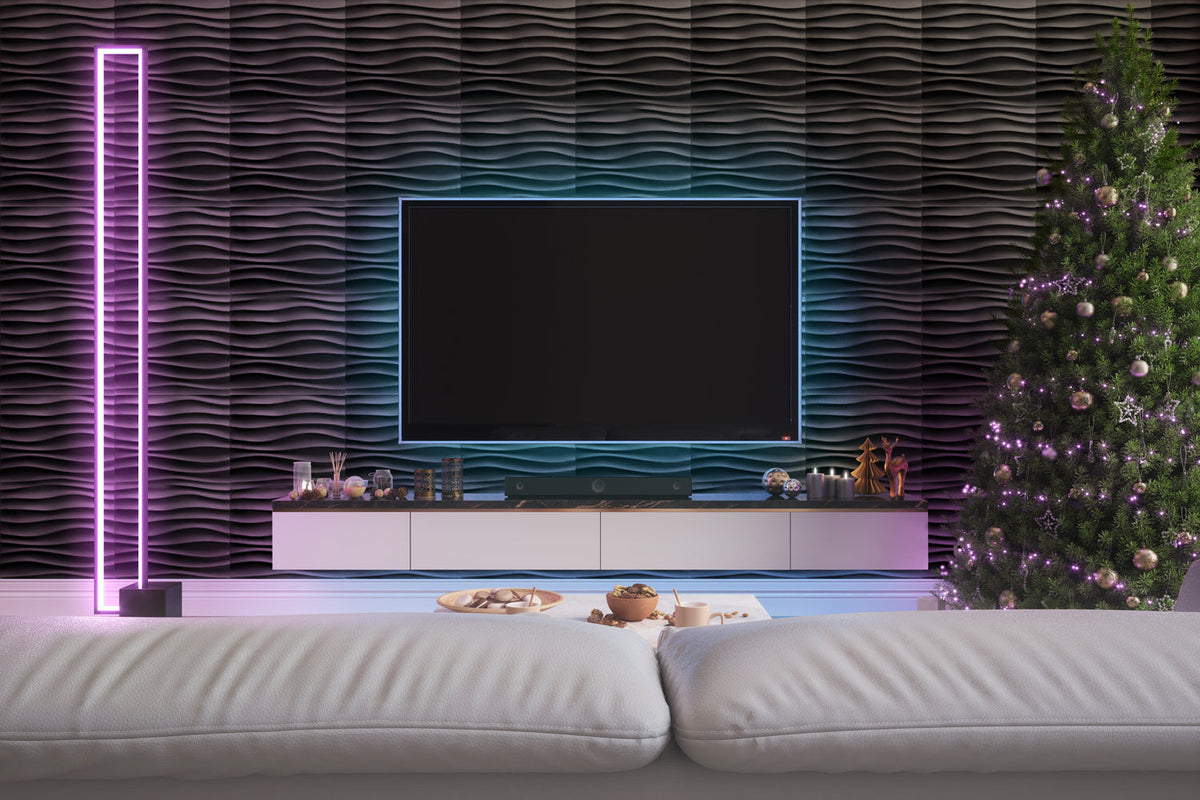
Imagine walking into a room where every wall seems alive and subtle shadows dance across the texture. This is exactly what happens when you combine 3D wall panels with sculpted surfaces and LED lights.
However, due to technical installation, many people consider it a difficult task. But let us tell you, it is actually not. Keep on reading, and by the end of this step-by-step guide, you will be able to select the proper LED type, plan your layout, and mount your lights very safely.
Furthermore, the guide will also help you avoid all the possible pitfalls and enjoy finished results with minimal unease. Let's begin.
Here are all the possible reasons to add LED lights to your 3D wall panels:
1. Enhanced Visual Appeal: 3D wall panels are designed to catch lights and shadows which enhances the hues and texture of the walls.
2. Create Mood: Lighting is one of the quickest ways to change any space's atmosphere from rather boring to more energetic. With LED lights attached to 3D wall panels, you can enhance the warm tones of your room, making it more cozy and intimate.
3. Enhance Spatial Perception: Smart placement of lights can make your walls recede. The walls of a well-lit room can make a small space feel more spacious and a larger room look more intimate.
Choosing the LED strip that blends well with your wall panels is essential but confusing. Here are some key features to look for when taking a final call in this regard:
Features |
Recommended Choice |
Why It Matters |
Type |
RGBs work great for bringing radiance whilst high Color Rendering Index should be considered for tailored requirements. For basic lighting go with simple monochrome white light. |
Determines what kind of light effect you will get. |
Brightness |
Measured in lumens per meter or lux. The higher the brightness the stronger highlights you get. |
To ensure maintaining a balance between brightness and shadows. |
Color Temperature |
Warm white (2700K-3000K) creates a warm atmosphere, while cool white (4000K-5000K) is more modern. |
Impacts the overall feel and comfort of the room. |
Waterproof Rating |
IP20 is recommended for indoor dry zones whereas higher ratings light IP56 or higher for areas like bathrooms and kitchen can be considered. |
Ensures safety and protection against dust and moisture. |
Flexibility |
Flexible PCB strip (bendable), cut-points at regular intervals. |
Allows smooth curves and tailoring of length. |
Having the right tools ensures an easy and smooth installation. Here is what you'll need:
1. LED strip selected as per the table above. Remember to match it with the length of the strips you plan. It is better to choose one with a slightly higher capacity than you actually need.
2. Controller: It is necessary for RGB and addressable strips. Some options include remote work, and others work via an app or hub.
3. Mounting channels or troughs (Aluminium or plastic) with diffuser covers. These help to soften the tone of the lights and hide the strip. Thus, it improves the overall heat dissipation.
4. Cleaning supplies like isopropyl alcohol to remove dust, oil and residue of the paint. Tools like a tape measure, scissors, a level to ensure straight lines, a knife, a screwdriver and a drill machine.
Here is a detailed installation process, broken down into simple and manageable steps:
There are several options on how polished and permanent you want the results to be, including the following:
Here are some of the best ways the set up.
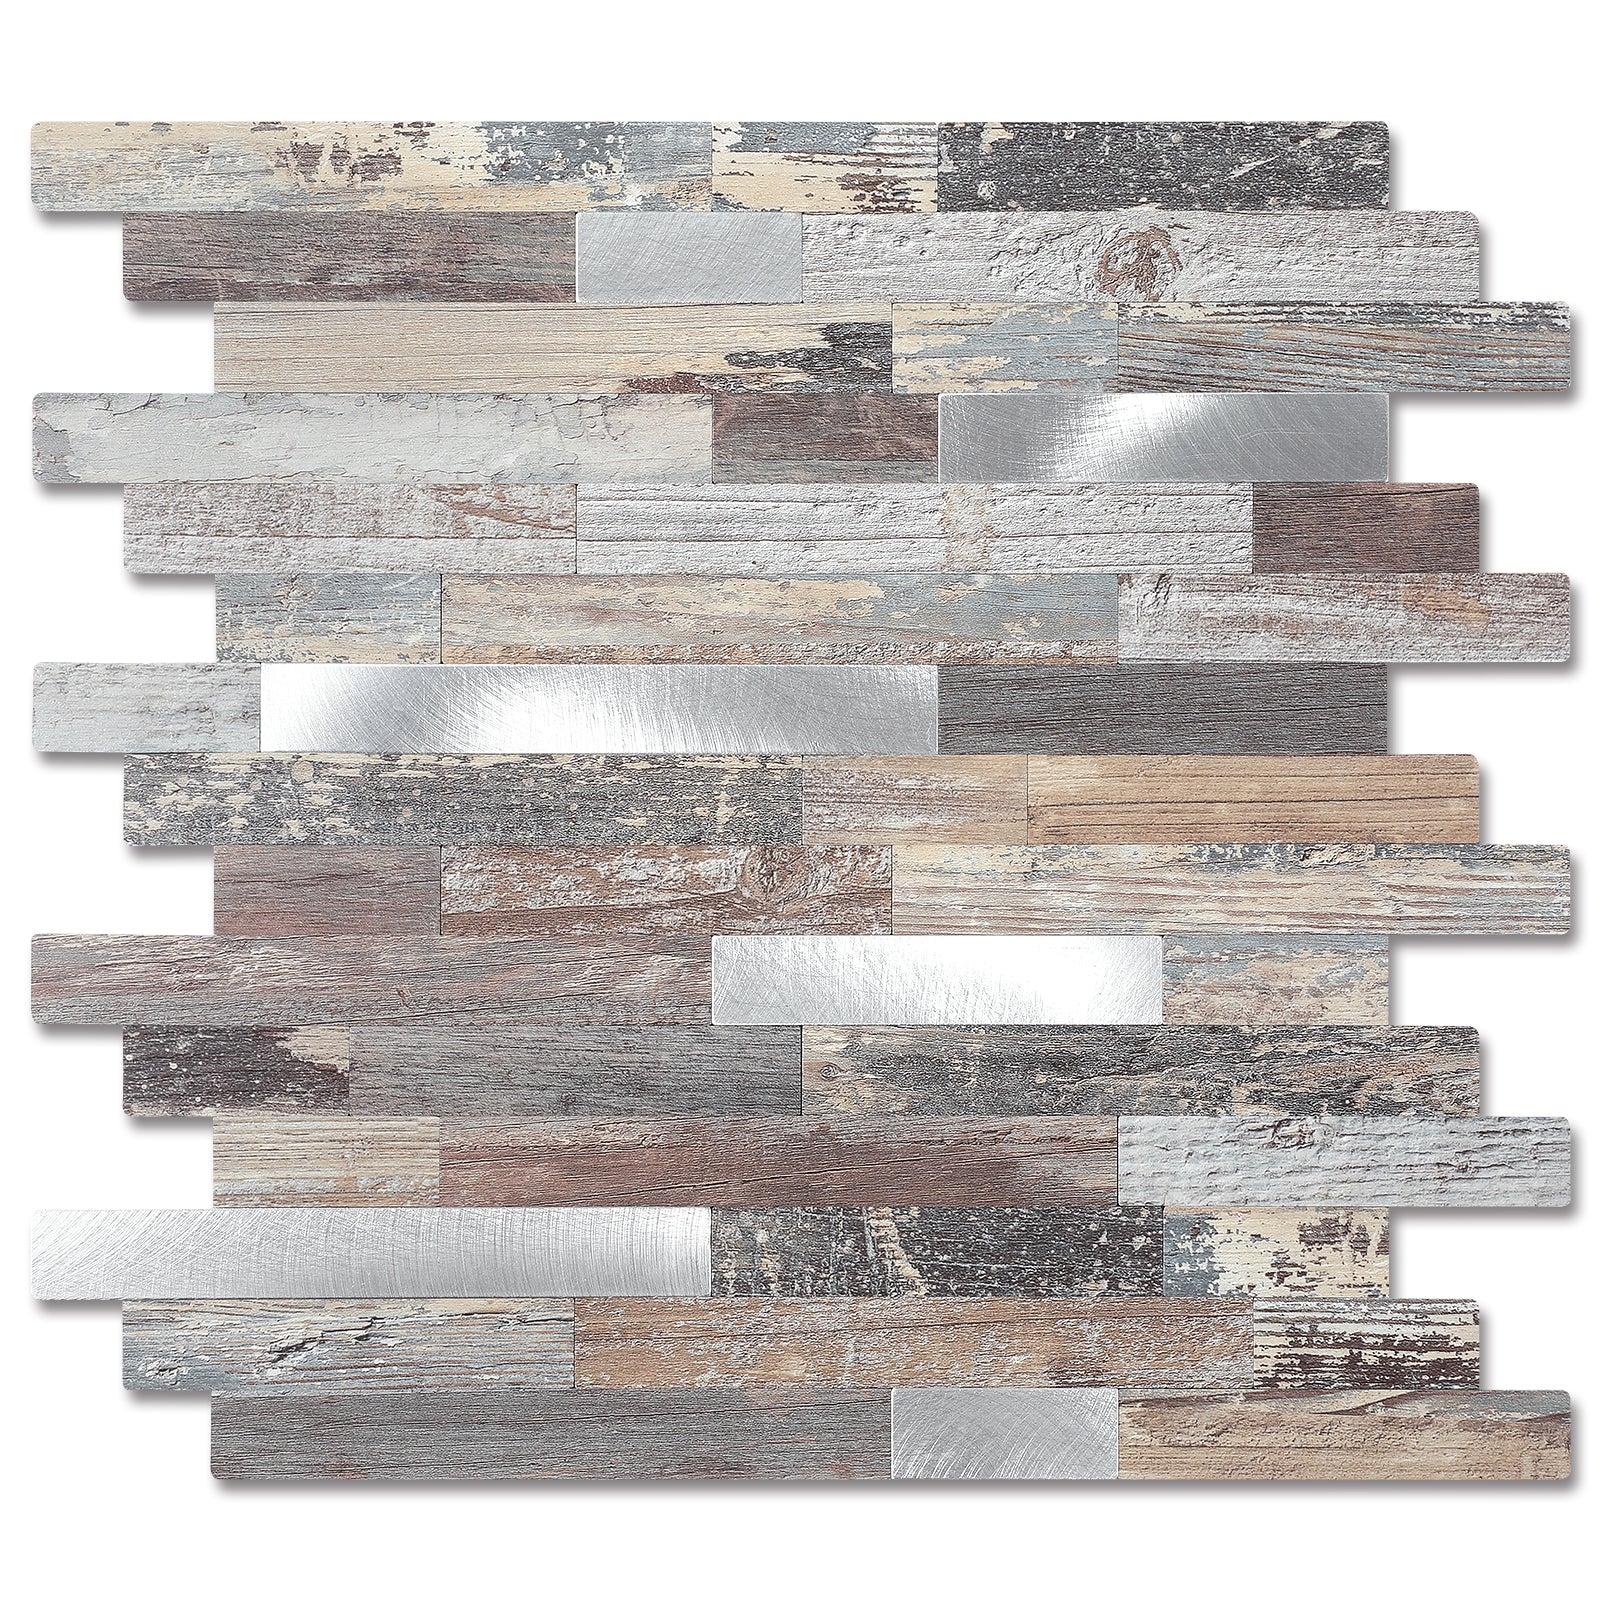
Usually, it is fine to use LED light strips on different types of 3D panels. This includes plastic, foam, MDF, wood or even gypsum panels. Despite this, what is more important is that the surface must be stable enough, clean, and strong enough to tolerate adhesives or mechanical fixtures. You also may have to prime or seal some of the material.
That does not happen at all in most cases. Especially if you have installed it properly, there is nothing much to worry about. However, remember that wood can be damaged by strips with strong heat. Also, adhesive residues can cause color damage on some materials or surfaces when removed. It is better to first test it in one small area.
Hide the wires behind the panels in the cover that matches the wall. The power adapter should be kept inside a cabinet or placed on the backside of the furniture. For a neat and clean look, consider using slim controllers.
Regular Cleaning: Dust built up on the light over time can dim it. That's why you should clean them regularly with a dry cloth. Make sure you are gentle and always avoid moisture near the connections.
1. Check Connections: Things can weaken with time, like the adhesive loosening, slipping, or a wire wiggle. Keep an update of these things by checking on them regularly so as to fix things before they get worse.
2. Avoid Chemicals: Never use acetone, strong solvents, or harsh cleaners to clean the light strips.
3. Common Problems: If the light flickers, check the power supply capacity. It is because insufficient current causes such problems. Moreover, if the segment does not light, it can be due to the slider joint, so check on the cut point.
In case the colors aren't in the way they are supposed to be then verify the wiring, as miswiring can display color wrongly. Also, if LED lights get overheated or warp the panels, use mounting channels for heat dissipation. Ensure to avoid playing with the strips near a heat-sensitive material.
Installing LED strip lights to 3D wall panels is not just about the new additions, it; a whole transformation. Ensure to select thoughtfully, plan properly and install the right way to make the most out of it. Keep an eye on things like color damage due to adhesive, cleaning, and maintenance. So now install your LED strips and turn the ordinary into extraordinary.
Products we recommend


