


DIY Herringbone Backsplash: Step-by-Step Installation Guide
|
|
Lesezeit 8 min
|
|
Lesezeit 8 min
Not many design patterns will immediately uplift a space like a herringbone backsplash. This pattern is very dynamic and gives depth, texture and motion to the otherwise plain walls of the kitchen or bathroom with its dynamic zigzag pattern and gracefulness in symmetry. What could have been an ordinary back splash turns out to be the focal point.
Herringbone tile installation was one of the tasks that were believed to be the domain of professionals over the years. The pattern needs specific location, measurements and factual cuts. A single error would interfere with the whole design.
But, with the current technology of peel and stick tiles, the situation has changed. Browse premium peel and stick tile collections at yipscazotile and find the perfect backsplash for your next DIY project. This is the classic look that DIY enthusiasts may now do without grout, mortar or sophisticated tiling techniques.
Through this guide, you will know how to install peel and stick herringbone tires in phases from preparation to finishing the project. It is possible to upgrade your kitchen backsplash within one weekend with the correct method and a fair amount of patience.
Table of Content
The herringbone pattern is also used to provide movement to the wall unlike straight tile layouts. The angled lines also make the surface three dimensional and direct the eye where it naturally flows. This renders the backsplash to seem like a purposeful design as opposed to merely a protective wall covering.
The versatility of the herringbone layout has been one of the reasons that the layout has managed to stay popular. It suits most design aesthetics, such as:
Design platforms often highlight patterned backsplashes as a way to bring personality to otherwise simple kitchens.
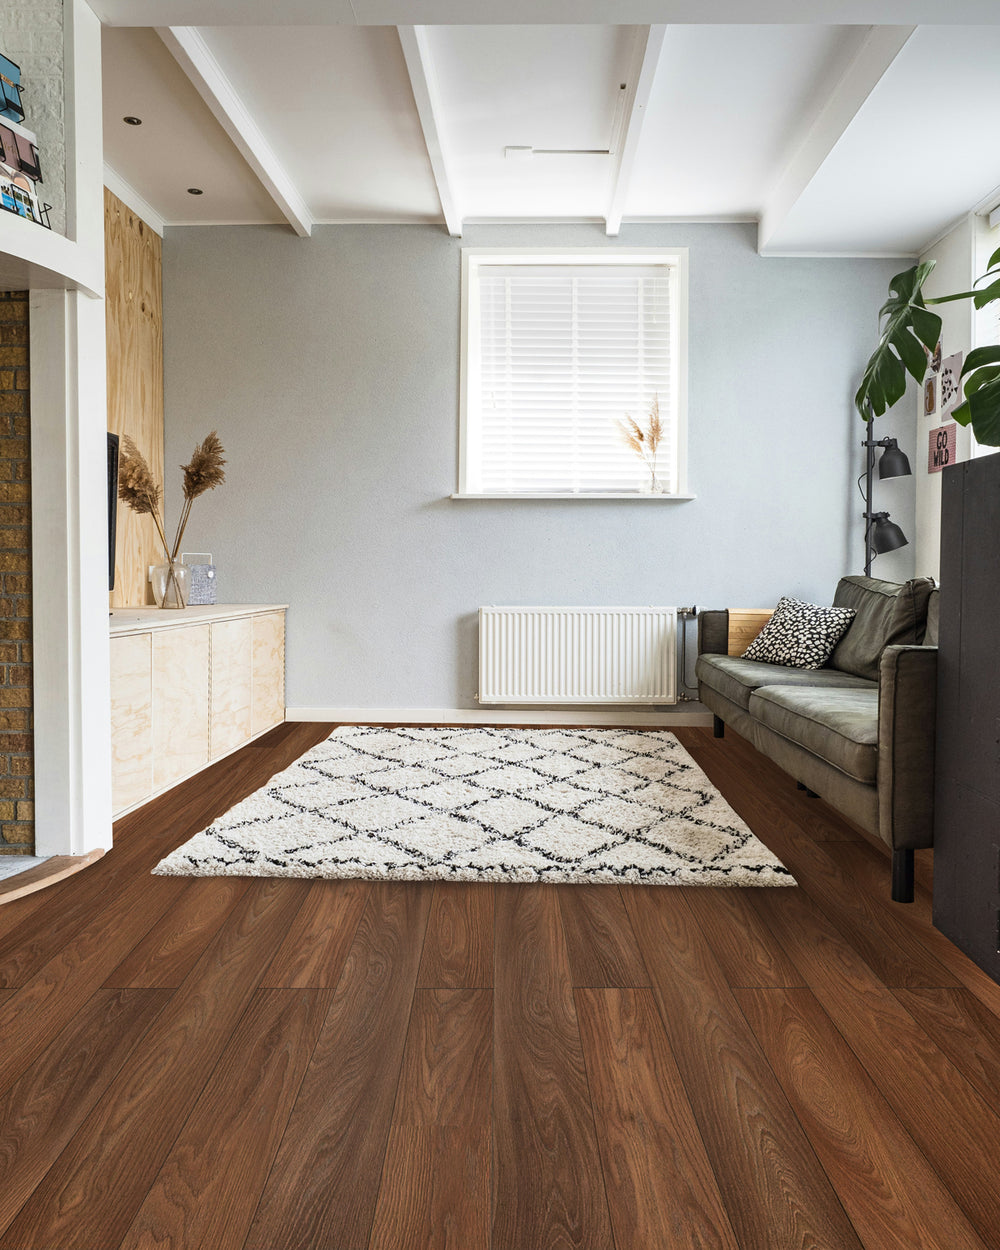
Since the pattern transpires in a diagonal way, it also visually elongates the wall and can help make small kitchens look bigger.
Even minor design decisions may transform the way a kitchen will feel. A backsplash that is well designed does not just serve the purpose of safeguarding the wall but it serves more as a focal point that connects the whole space. An unusual arrangement of a herringbone design immediately renders the kitchen more sophisticated, designer-driven in appearance.
85% of homeowners prioritize upgrading their backsplash during a kitchen renovation, making it one of the most common design updates. Proper preparation is the key to a successful DIY backsplash.
Measuring the Area
Start by determining the size of the wall where the tiles will be installed.
The herringbone pattern needs more trimming compared to straight patterns, so the additional material can prevent the shortages.
The location of the visual emphasis should also be determined. Most house owners focus on the pattern behind the stove or sink.
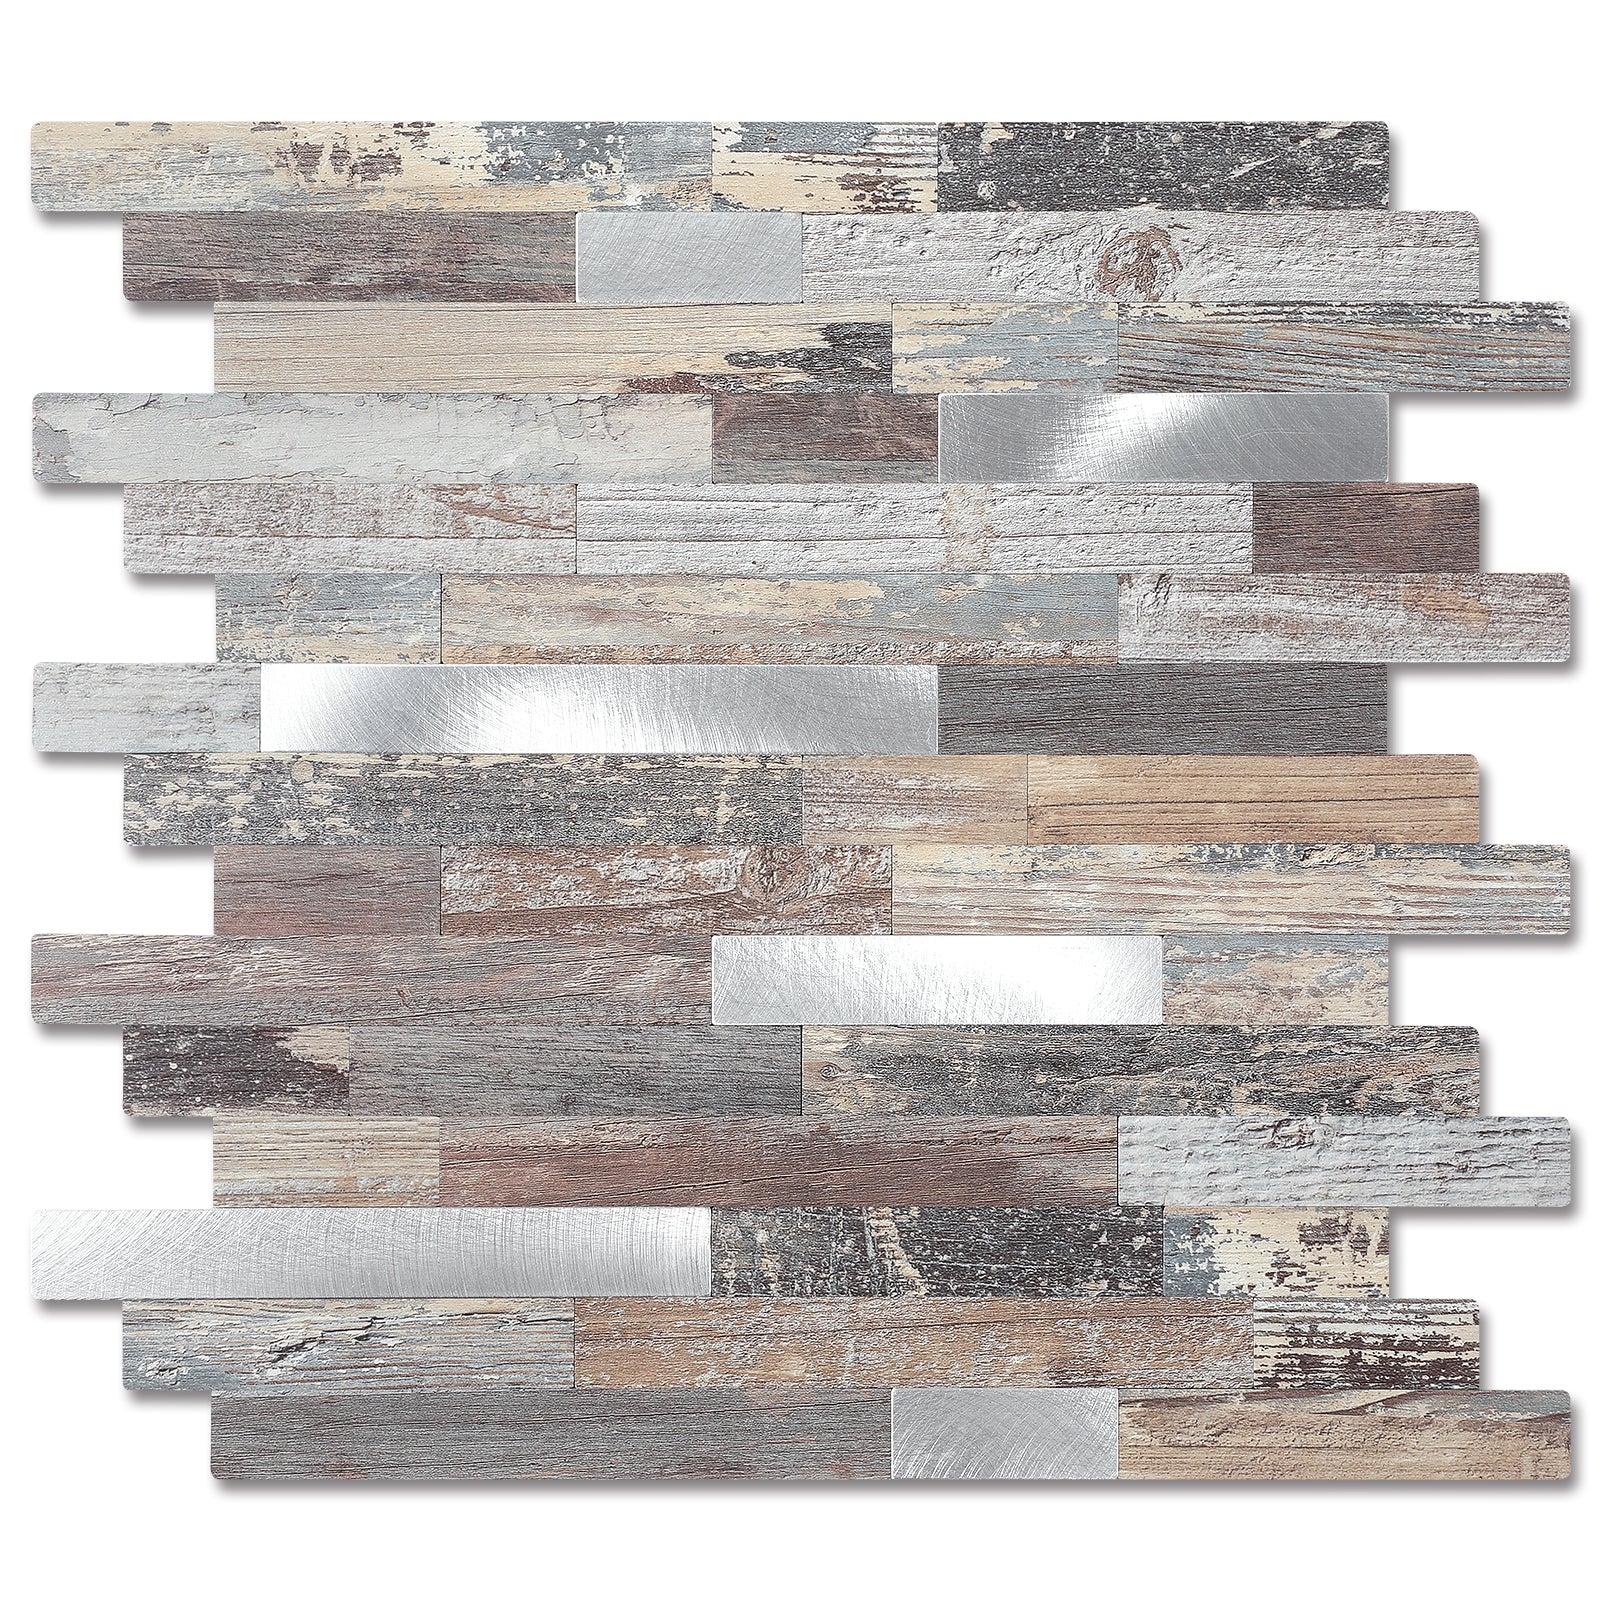
There are many similar tiles patterns, it is best to know how the herringbone layout is different before you begin installing it. Two such designs which are commonly mixed up are herringbone and chevron. Although they both produce a zigzag appearance, the manner of arrangement of the tiles is very different.
In a herringbone pattern, the tiles are rectangular shaped and fitted at right angles to one another. The end of each tile is connected with a side of another tile creating a staggered zigzag design. This gives it a small broken zigzag effect, which gives the wall a texture and a sense of movement. Due to the tendency of the tiles to maintain the shape of the original rectangle, this pattern is very effective in DIY projects.
The chevron design forms a more continuous zigzag line. In this design, every tile is cut at an angle, normally at 45 degrees such that the ends of the tile fit together exactly at the center. This creates a clean V-shaped pattern which is quite sharp and symmetrical.
Herringbone pattern is simpler to install where most of the homeowners are concerned. It generally incorporates standard rectangular tiles and fewer sharp angled cuts are made. Chevron designs however, are usually designed to either require a specially cut tile or a high-tech cutting tool to ensure that the angles remain perfect.
A herringbone backsplash is not an easy task to install. These few suggestions may assist you to attain a cleaner finish.
At the first glimpse, it can be difficult to install a herringbone backsplash, but with easy to follow steps, it can be made very easy and feasible.
Step 1: Prepare the Wall Surface
Wipe the wall to ensure that the adhesive will adhere. Wipe the surface with rubbing alcohol and dry thoroughly using a mild cleaner then remove grease, dust and residue using a mild cleaner.
Step 2: Determine Your Reference Lines.
Draw a horizontal and a vertical center line on the wall with the use of a level. These are some of the guide lines used to keep herringbone pattern straight and balanced when installing it.
Step 3: Plan the Pattern Layout
A preview of the pattern direction can be done by placing a number of tiles on a counter or a floor. This fast drying design assists you in checking spacing and where cuts can be required.
Step 4: Install the First Tile Carefully
Begin with the placing of the first tile along your guide lines. Take a strip of the backing, a little of it, and place it neatly on the wall and press it against it.
Step 5: Construct Herringbone Pattern.
Keep on laying tiles in the zigzag pattern. Start working in the middle and move towards the center and keep checking the alignment to keep the pattern.
Step 6: Measuring and cutting tiles to the corners.
At the fringes of the backsplash area, size up the remaining space and cut tiles with utility knife and straight edge to fit.
Step 7: Place Tiles around Corners and Outlets
Measure carefully along corners, outlets, and cabinets. Cut the tiles to suit these shapes in order to fit in appropriately.
Step 8: Press and Re-enforce the Tiles
Once installed, apply roller / plastic smoother to press all the tiles firmly to the wall and get the air bubbles out.
Step 9: Protect the Edges by Sealing them
This is done by putting on a small line of clear silicone at the junction of the backsplash and countertops or cabinets, to ensure that moisture does not get to the adhesive.
Step 10: Check the Final installation
Inspect the whole back splash to confirm that the tiles are in place. The moment your new herringbone design is ready the appearance of the space will be improved.
Yes, lots of homeowners use peel and stick tiles along with a few basic tools, lots of planning, and patience to install a herringbone backsplash.
Install Using a level, place a horizontal line on the top and a vertical line on the center, and periodically check the alignment.
Do measurements carefully, mark the back side of the tile, Scoring a sharp utility knife and straightedge, mark repeatedly after which cut line is snapped.
Order slightly more tiles (around 15-20 per cent., more or less) so that there can be some cutting waste, adjusting of pattern, and possibility of error in installation.
No, there are numerous peel and set tile sheets which are already designed in herringbone designs, and thus they are easier to install compared with individual tiles.
The backsplash may look difficult as it has to be made in herringbone, but using material and a proper plan, it is a do-it-yourself project. With the aid of adhesive peel and stick tile products, one can create a high-end design without having to hire a professional installer.
Using a ruler, sticking to the pattern step by step and cutting and aligning slowly, you will be able to make a backsplash that appears fashionable and installed professionally.
Book a weekend, get your materials together and get going on your project. The addition that may make your entire kitchen or bathroom a full upgrade could be a beautifully patterned backsplash.


