


How to Cut Peel and Stick Backsplash Tile: Tools, Techniques & Common Mistakes
|
|
Lesezeit 5 min
|
|
Lesezeit 5 min
Installing a peel and stick backsplash is one of the easiest DIY home upgrades, but many homeowners wonder: How do you cut peel and stick backsplash tile?
The good news is that most peel and stick backsplash tiles can be cut using simple hand tools. In most cases, you won't need a tile saw or professional equipment.
The right cutting method depends mainly on the tile material and the type of cut you're making.
Most peel and stick backsplash tiles can be cut with a utility knife, heavy-duty scissors, or a box cutter.
Making several light cuts is usually safer and produces cleaner edges than trying to cut through the tile in one attempt.
Tile Material |
Recommended Tool |
Difficulty |
Thin Vinyl Tile |
Heavy-duty scissors |
Easy |
PVC Tile |
Utility knife + straightedge |
Easy |
Gel Mosaic Tile |
Utility knife |
Easy |
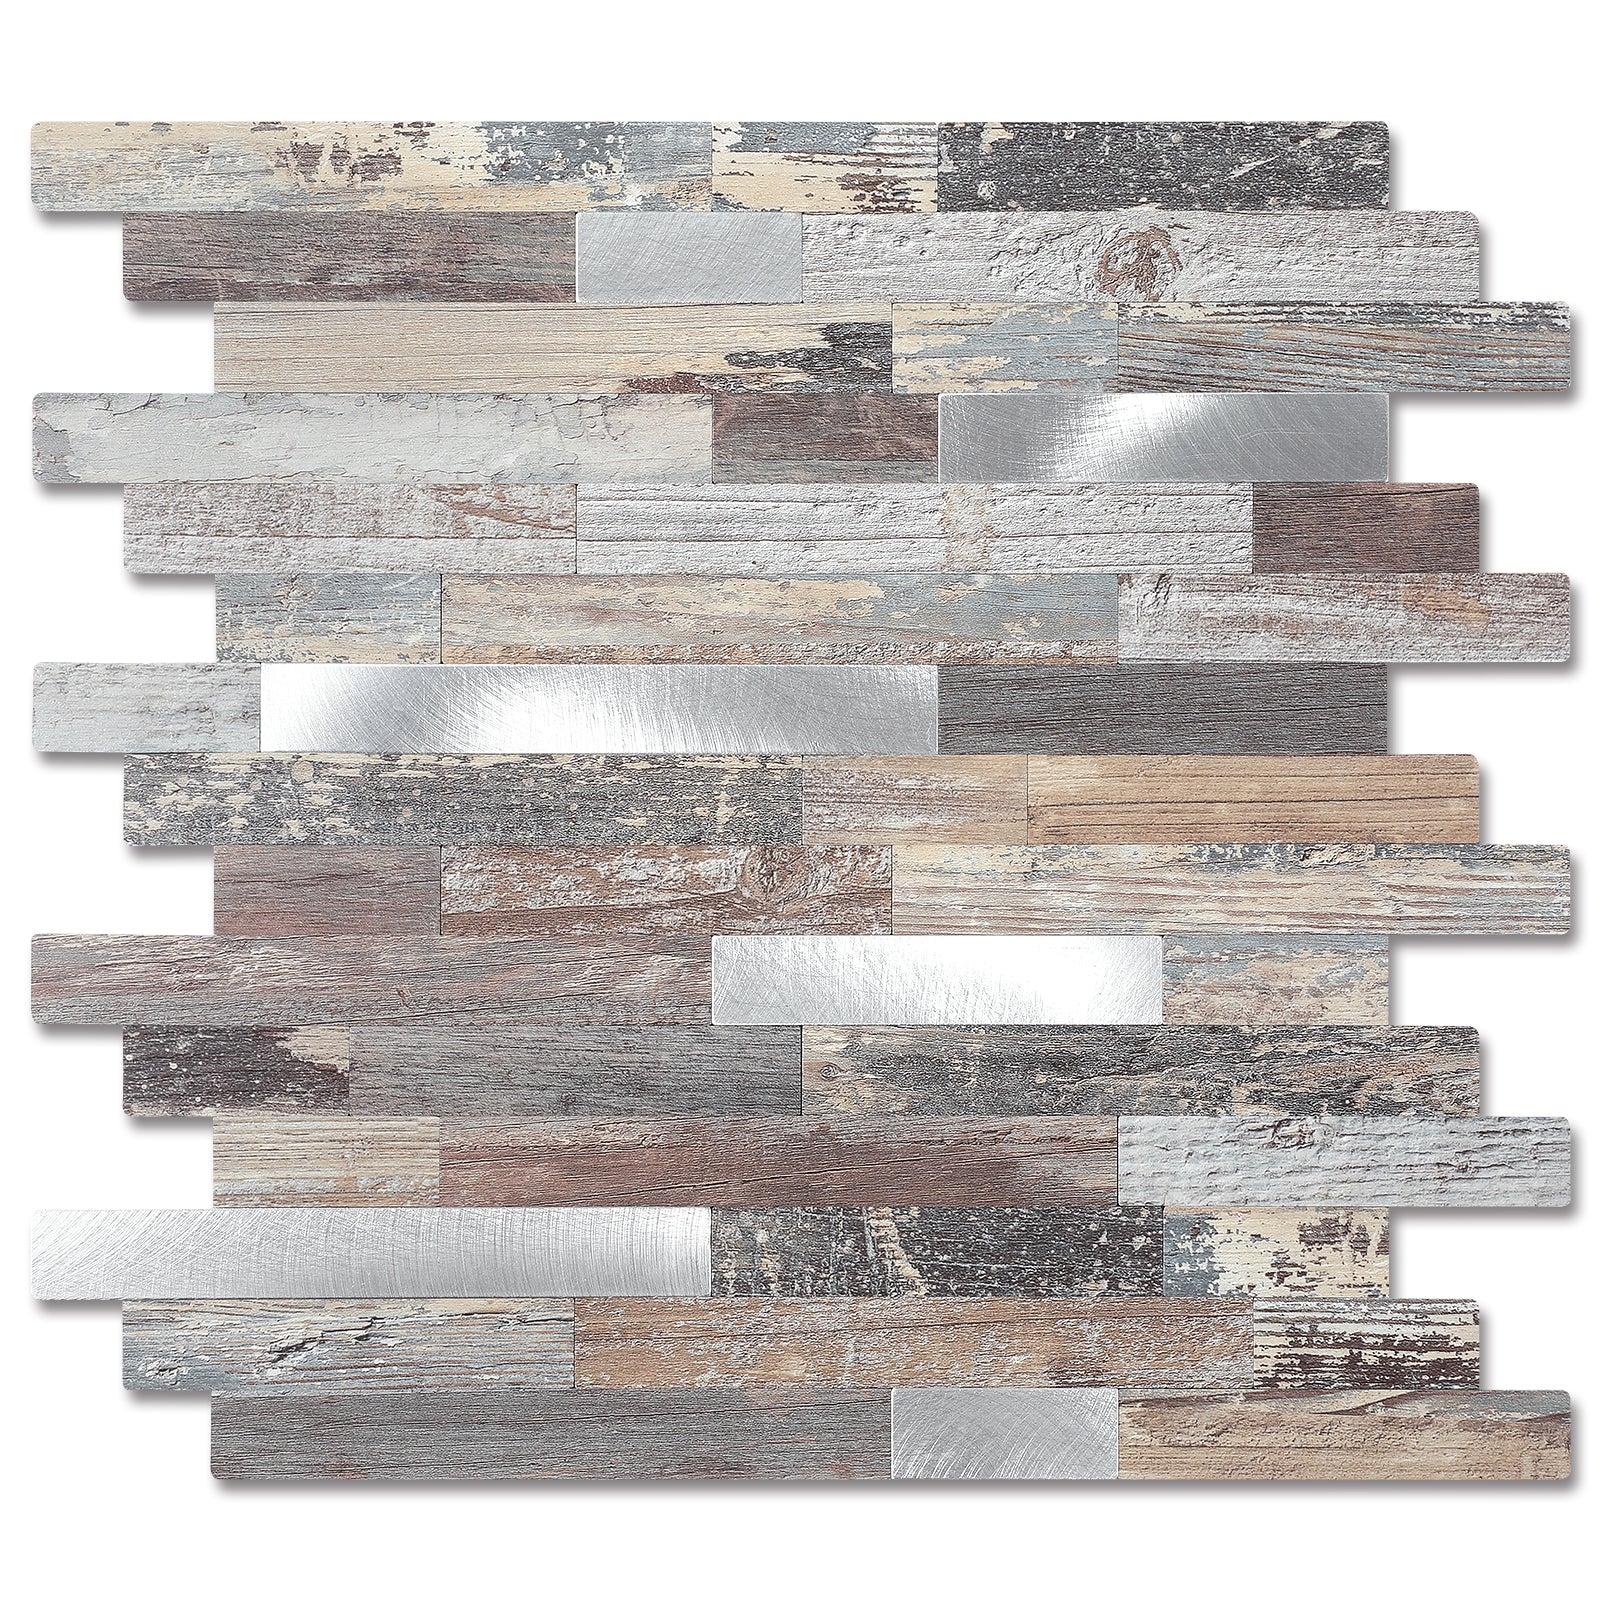
Aluminum Composite Tile |
Utility knife + pliers |
Moderate |
Mother of Pearl Composite Tile |
Utility knife + pliers |
Moderate |
SPC Tile |
Utility knife + straightedge |
Moderate |
No.
Unlike traditional ceramic tile, most peel and stick backsplash tiles are specifically designed for DIY installation.
A tile saw is usually unnecessary because:
For most kitchen backsplash installations, a sharp utility knife and a metal ruler are all you need.
Yes, but it depends on the material.
Trying to cut thick PVC tiles with ordinary household scissors may result in rough edges or cracked pieces.
Before starting, gather the following tools:
A sharp blade is essential. Dull blades often create rough or uneven edges.
Straight cuts are the most common type of cut when installing a peel and stick backsplash.
Measure the installation area and transfer the measurements to the tile.
Remember the DIY rule:
Measure twice, cut once.
Use a pencil and ruler to create a clear cutting line.
Place the metal ruler along the line and score the tile with a utility knife.
Instead of trying to cut through immediately, make several light passes.
Once the score line is deep enough, gently bend the tile until it separates cleanly.
Many DIY homeowners find that several shallow cuts produce smoother edges than one deep cut.
Cutting around outlets is one of the most common backsplash challenges.
Measure:
Transfer the dimensions to the tile.
Draw the outlet shape with a pencil.
Use a utility knife to score along the marked lines.
Make additional cuts and carefully remove the center portion.
Always dry-fit the tile before removing the backing paper.
Small outlet openings are often easier to cut gradually instead of removing large sections at once.
Corners require more planning than straight sections.
Measure both walls carefully and trim the tile so the edges meet neatly.
Leave a small expansion gap if recommended by the manufacturer.
For outside corners:
Dry-fit pieces first and trim gradually to avoid cutting away too much material.
Best Tool:
Recommended Method:
Score several times and snap along the line.
Best Tool:
Recommended Method:
Cut slowly to maintain clean edges.
Best Tool:
Recommended Method:
Score deeply and bend carefully.
Best Tool:
Recommended Method:
Multiple shallow passes help reduce cracking.
Best Tool:
Recommended Method:
Score and snap using firm pressure.
Always cut the tile before removing the adhesive backing.
Dull blades often create rough edges and increase the risk of cracking.
Replace blades frequently.
Multiple light cuts usually produce cleaner results.
Test the tile position before exposing the adhesive.
Correcting mistakes becomes much harder after installation.
Applying too much force.
Make several shallow passes instead of one deep cut.
Dull blade.
Replace the blade and recut if necessary.
Score line isn't deep enough.
Repeat the scoring process before bending.
Measurement errors.
Always dry-fit before removing the backing paper.
✔ Measure twice
✔ Mark clearly with a pencil
✔ Prepare a straightedge
✔ Use a sharp blade
✔ Keep backing paper attached
✔ Dry-fit pieces before installation
✔ Test fit the tile
✔ Remove the backing paper
✔ Press firmly during installation
✔ Check alignment
✔ Seal exposed edges if necessary
Yes. Thin vinyl tiles can usually be cut with heavy-duty scissors. Thicker PVC and SPC materials are easier to cut with a utility knife.
Yes. A box cutter or utility knife is one of the most commonly used tools for cutting peel and stick backsplash tile.
No. Most peel and stick tiles are designed to be cut without specialized equipment.
Use a metal ruler and make several light passes with a sharp utility knife.
Cracking is usually caused by excessive force or trying to cut through the tile in one pass.
Minor trimming is possible, but cutting tiles before installation usually yields cleaner, more accurate results.
Cutting peel and stick backsplash tile is much easier than cutting traditional ceramic tile. Most materials can be trimmed with basic hand tools, making peel and stick backsplash projects especially DIY-friendly.
For the cleanest results:
With the proper tools and techniques, even first-time DIY homeowners can achieve professional-looking backsplash installations without the need for expensive equipment or specialized skills.


