


Love Subway Tile? Get the Look with Easy Peel and Stick Options
|
|
Lesezeit 7 min
|
|
Lesezeit 7 min
For well over a hundred years, subway tile has been a favorite in home decor. And for good reason. It is clean, shiny, and elegant. It is also timeless. There is something to be said for the classic white ceramic tile that is installed in the 3 x 6 pattern, and then again for the more modern versions that are installed in the stacked pattern that is seen in contemporary design.
But with that said, here's what homeowners are often surprised to learn: it's not always easy to create that classic subway tile look. Tile by itself typically involves cutting tools, grout, mortar, lots of manhours, or hiring a professional, which can easily become a costly endeavor.
This is where the peel and stick subway tile enters the picture as a game-changer.
The peel and stick versions that are currently available do not bear any resemblance to the flimsy stickers that used to be on the market. Thanks to modern materials, 3D textures, and heat-resistant finishes, you now have access to a realistic, affordable, and budget-friendly alternative for adding a subway tile effect to your home, whether you rent, own, or are simply looking for a temporary change.
This guide will lead you through everything you need to know, from selecting the right product to installation tips and design inspiration, so you can confidently create a beautiful subway tile backsplash.
Table of content
But if you've ever gone out to price a regular subway tile backsplash, you know that it's not as cheap as it sounds. With tile, grout, tools, and labor, a simple kitchen wall can easily go into the thousands. That's where peel and stick subway tiles upend that model.
In comparison, a peel and stick subway tile backsplash will usually cost less than $300, even for a full kitchen.
Putting in real tile is a process that takes several days to complete and includes:
Peel and stick subway tile eliminates all that. Most homeowners can finish the backsplash in an afternoon. No mess, no dust, and no wait.
Renting or just want to give your room an easy makeover? Peel and stick tile is a dream come true. It can be removed without damaging the paint or drywall, which will never happen with tile.
Peel and stick tiles of the past were flat, shiny, and very obviously not the real thing. Today, 2024/2025 products use:
The end result? A finish that comes very close to ceramic or glass subway tile.
Given how many options are available when it comes to peel-and-stick subway tiles, it can be difficult to choose which one to use. By narrowing it down to a few key points, you can easily choose a backsplash that not only looks great but also performs well.
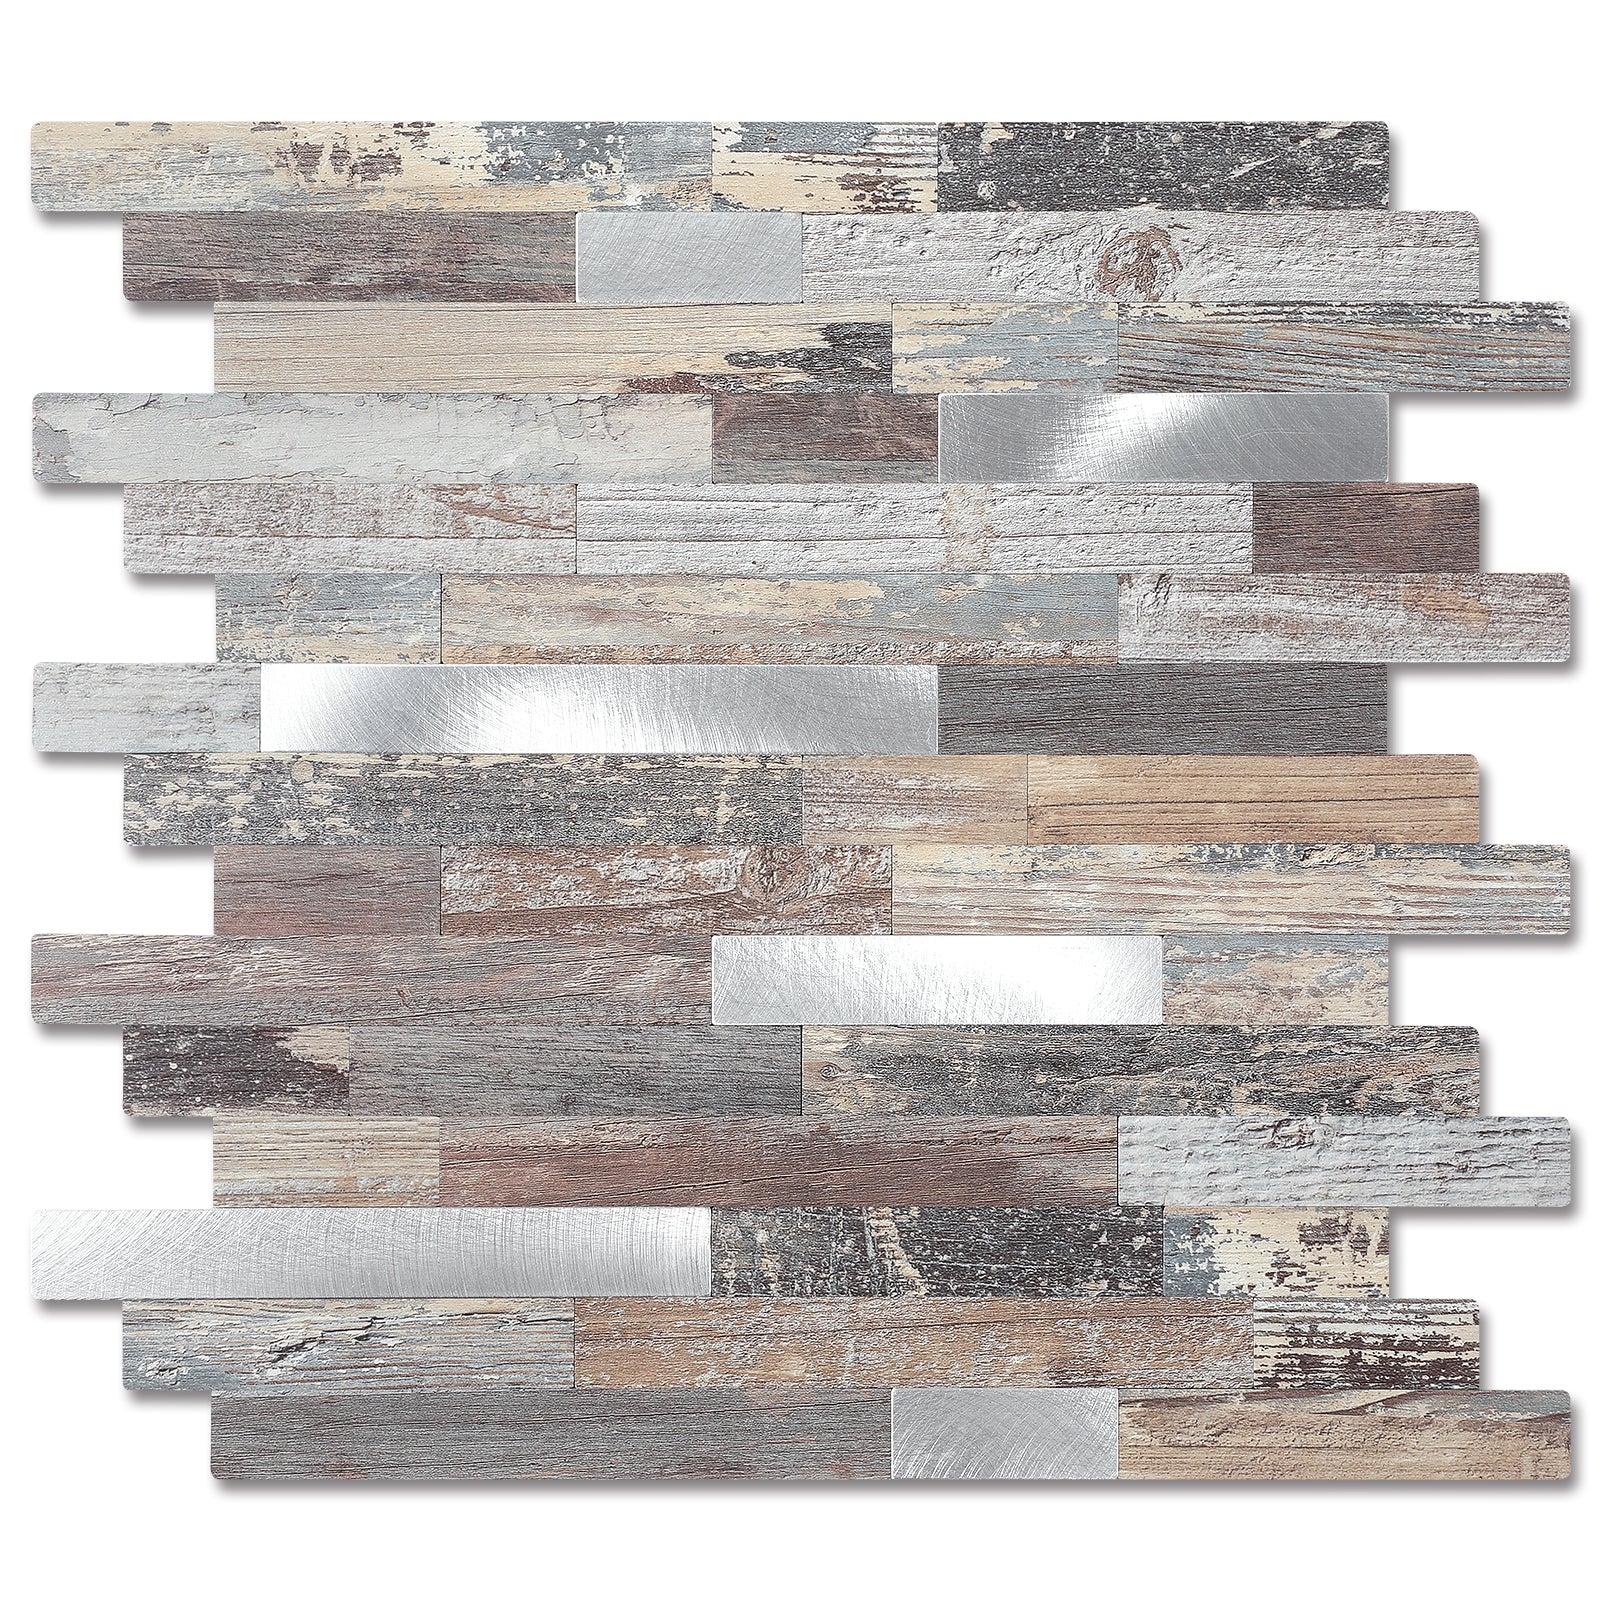
You can look for tiles that use 3D gel material, vinyl composite tiles, and tiles with a textured finish that can resemble ceramic tiles. The tiles will look professionally installed when you use these materials.
Select products that are labeled as heat-resistant and waterproof. These are especially important in areas such as behind stoves, sinks, and dishwashers. Materials that are high-quality are more durable and less likely to warp and peel.
A good peel and stick tile should be able to be cut easily with a utility knife and should come off without causing any damage. This makes it easy to install, as well as providing peace of mind should you decide to redecorate again.
Available Sizes
The peel-and-stick subway tile comes in traditional sizes just like a regular tile.
2×4 inches — smaller and more detailed style with a vintage look
You'll find tiles available as:
By selecting the right material, size, and style, you can ensure not only the beauty of the peel and stick subway tile but also the suitability of the tile to the skill level of the person doing the installation.
Peel and stick subway tiles bring about a world of freedom. With some planning, one can replicate classic designs to create a stylish look on one's backsplash.
PRO TIP: Begin with a level and a pencil to plot out your design before placing anything on the wall. When doing a herringbone pattern, it is helpful to dry-fit some pieces to make sure everything is lining up well.
Peel and stick subway tile installation is a breeze, but to achieve a professional-looking result for your backsplash, it is important to follow a step-by-step process. Don't worry; it is easy to follow even for a beginner.
Clean Thoroughly
Remove grease, dust, and residue from the wall with a degreaser or cleaner. This will ensure a cleaner surface for better adhesive bonding. Allow the wall to dry completely before proceeding.
Measure & Mark Your Starting Line
To do this, find the center of the backsplash region in your kitchen, and then use a level to draw a straight vertical line. This will be the starting point of your layout. Do not use the cabinets and countertops, as these may be slightly off-level.
Start at the Center
Start laying tiles along the vertical line, then gradually move outwards. This will create symmetry in your design, as well as avoid any awkward tiles that are left as a result of cutting tiles that are near edges.
Apply the "Hinge Method" for Sheets
Peel back just a couple of inches of the backing and line up the top edge and press it down gently. As soon as you can be certain it is straight, slowly peel back the rest of the liner while pushing it down.
Cutting with Precision
For clean and straight cuts, a utility knife and a metal straight edge are needed. When cutting around outlets or switches, measure carefully and cut from the back side of the tile.
Seal the Edges
A bead of clear silicone caulk needs to be applied where the backsplash intersects with the countertops, cabinets, or walls. This will prevent any moisture from seeping behind the tiles, giving the installation a clean, finished appearance.
Easy Maintenance
To keep your new backsplash looking like new, all you have to do is wipe it off with a damp cloth. That's it! No scrubbing or harsh chemicals needed.
Yes – most high-quality peel-and-stick subway tiles are heat-resistant and safe to use on a stovetop, as long as they are not exposed to direct flames.
Good quality peel and stick tiles can be removed easily. Applying a little warm air from a hair dryer loosens the adhesive and protects paint and drywall.
No. These tiles are designed to resemble grouted seams, so you won't need to use any grout or mortar.
It's a definite yes if the tile surface is smooth, clean, and completely dry. This works well with the non-porous surface of a peel-and-stick tile.
If it is installed correctly and taken care of, a good peel and stick backsplash should last for 5 to 10 years or more.
The classic subway tile installation has never been easier. With current peel and stick technology available on the market today, you too can have that same clean classic look without the expense or commitment that comes along with traditional tile. If it is a project that fits your budget or if you rent your home or simply want a project that you can complete in a weekend, peel and stick subway tiles have made it possible.
With the proper product and a strategic installation plan, you can build a backsplash that not only looks sophisticated and feels strong but also transforms the space. This is a clever, confidence-inspiring DIY project that truly makes a statement.
If you decide to give it a go, be sure to share your questions, thoughts, or even photos of your completed backsplash project with me, as your makeover may very well inspire someone else to give it a go!


