


Define Your Style: Modern Living Room Designs Using Peel and Stick Tiles
|
|
Lesezeit 5 min
|
|
Lesezeit 5 min
If you want to update your living room but do not have the budget or enough creative ideas to do so, then don't worry because we've got you covered. One simple way to refresh the space is by using peel and stick tiles. While most people think of them only as a peel and stick backsplash solution for kitchens, here's what they miss. Modern designs of these tiles have made them a great option for living room walls.
These tiles come in a wide variety of styles, colors, and textures of your choice. Plus, they're easy to install, and that's where this guide comes in. We're going to break down exactly how to choose a style, where to place your tiles, and how to install them without any stress. So, let's get started.
Peel and stick tiles let you create an attractive look without using costly materials. You can get the appearance of stone, concrete, marble, or wood, just as you wish, without the cost or long-term commitment.
If you like trying new styles or changing your décor often, then peel and stick options are the best choice. You can try interesting patterns or darker colors without worrying about repainting or removing traditional tile.
Most people can install a small feature wall in a day or a weekend. Thus, there’s no need for you to worry about tile saws, buckets of adhesive, mixing grout, or dealing with construction dust.
As they're removable, peel and stick products are ideal for renters who want a personalized space without damaging the walls. You can customize your living room and return it to its original state later with the least effort.
Below is a table that shows modern living room styles and which peel and stick tiles fit each look. You can use it to figure out what matches your home and personal taste.
Modern Style Vibe |
Characteristics |
Ideal Peel and Stick Tile Choices |
Application Tip |
Minimalist & Scandinavian |
Bright, simple, airy, clean lines |
Large light panels, soft white/gray, subtle linen textures |
You can use it behind the sofa for an open backdrop |
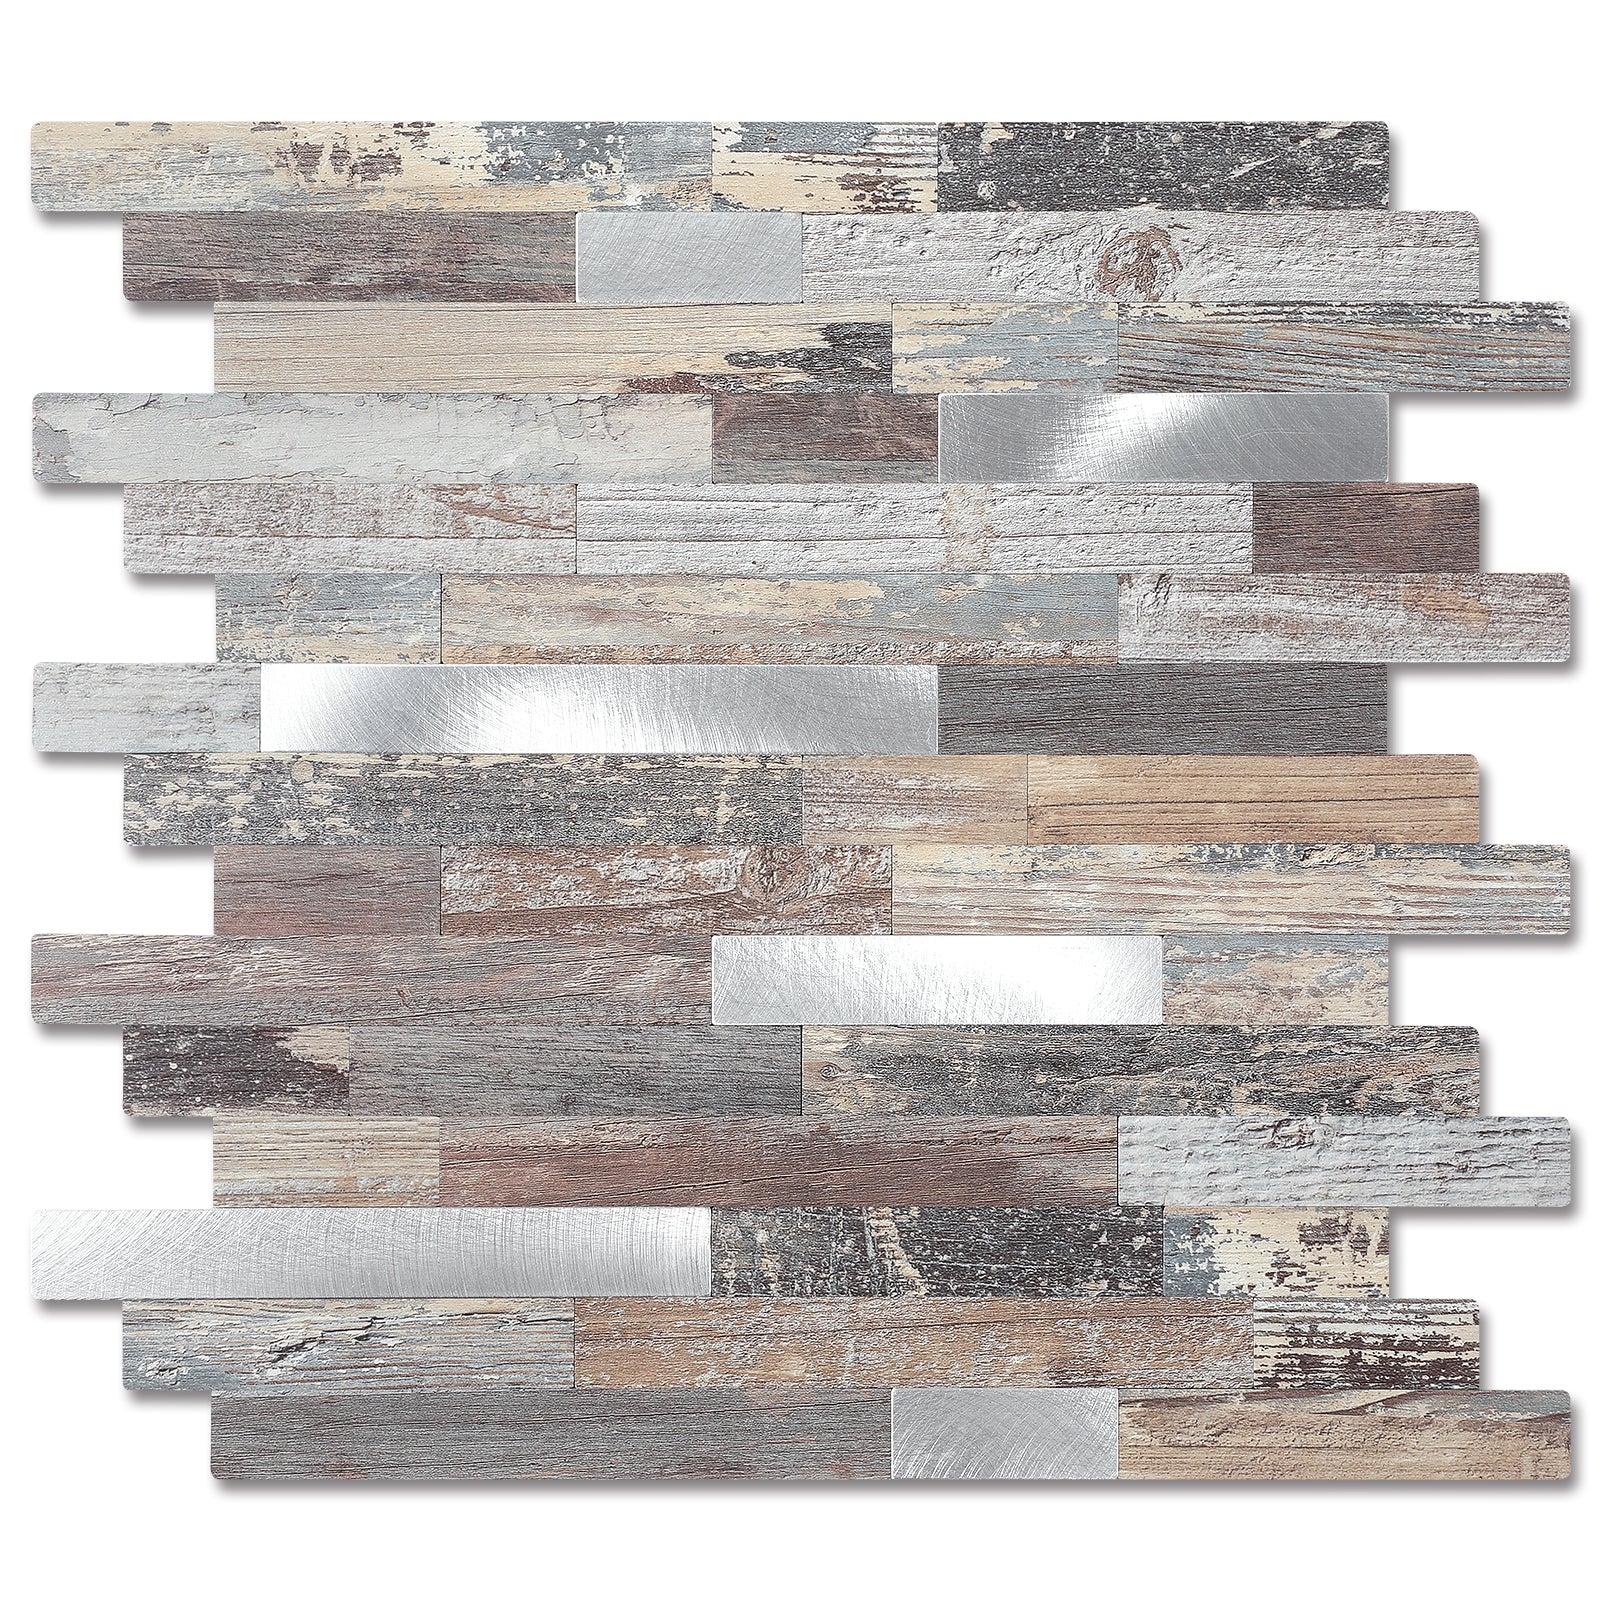
Industrial & Urban Loft |
Concrete, metal, exposed texture, darker tones |
Concrete-look panels, brick designs, dark geometrics |
It is great for feature walls or fireplace surrounds |
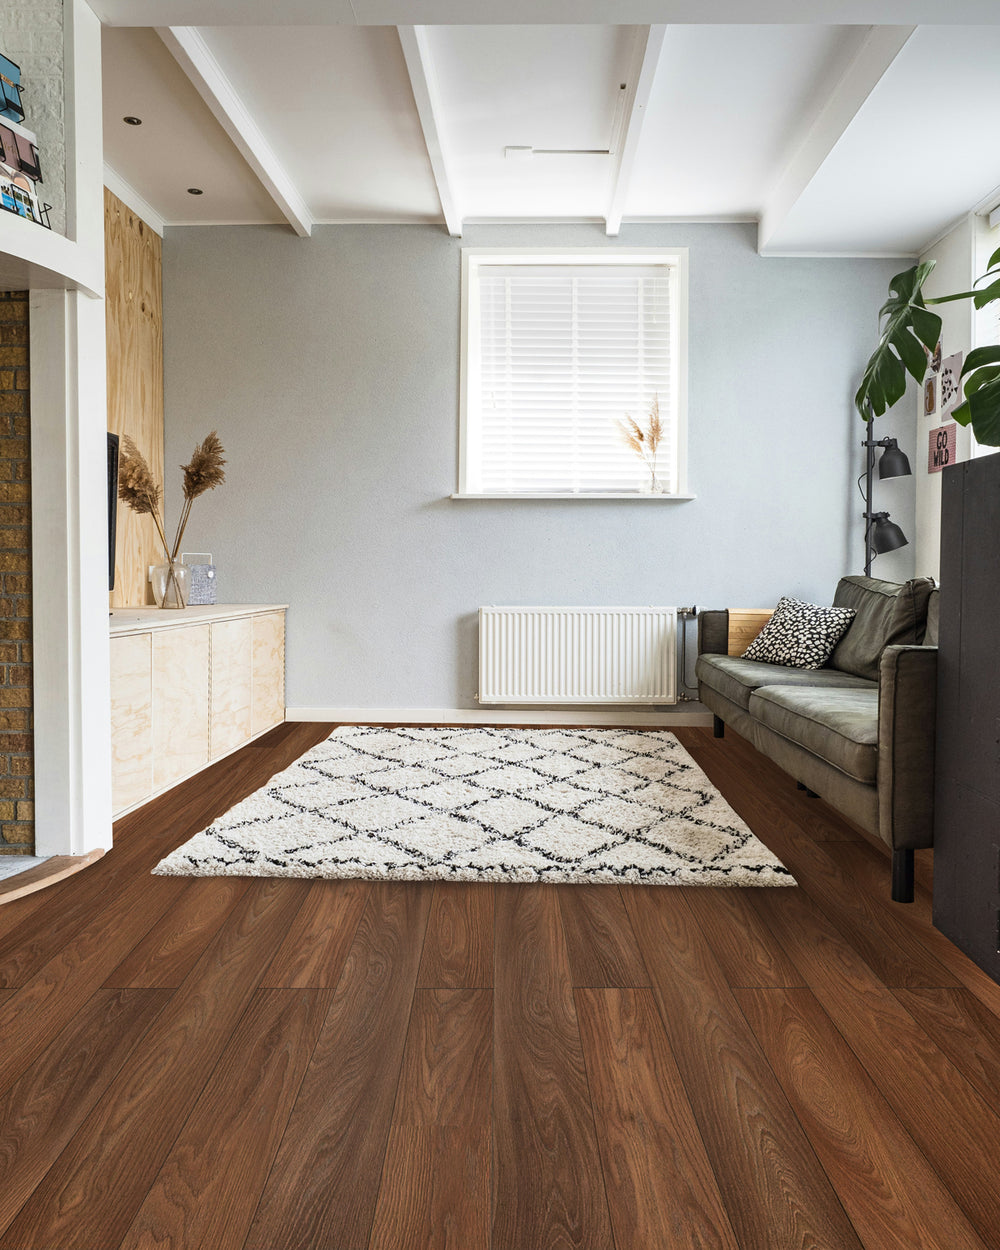
Organic Modern (Japandi / Coastal) |
Natural, warm, neutral, simple |
Wood-look planks, stone-style tiles, reed/bamboo patterns |
It works well with plants and natural fabrics |
Maximalist & Eclectic |
Patterned, colorful |
Moroccan-style zellige, big geometric prints, glossy colors |
You can use it on one main wall and keep furniture simple |
Mid-Century Modern |
Warm wood, retro curves, graphic shapes |
Terrazzo panels, vertical subway tiles, retro geometrics |
It looks nice behind a media console or fireplace |
Once you know your style and tile type, its placement is the next important step. Here are a few layouts that work well in most homes.
This is usually behind the sofa or the TV. It's the easiest and most common place to use peel and stick tiles. A feature wall instantly changes the overall look of the room and makes it exceptional.
If you have a fireplace, a column, or any part of the house that feels too plain, tile can help highlight it and make it interesting to eyes.
In an open layout, a tiled wall can help separate the living area from dining or kitchen space without needing actual dividers.
If you want something a little different, lightweight peel and stick panels can be applied to ceiling coves or tray ceilings. It creates a modern look without too much effort.
Now, here's a plan for designing and installing your new tile wall.
First off, take a few minutes to browse images online. It can be on Pinterest, Instagram, or even design blogs, and here's where you notice what styles you're drawn to. Once you pick a direction, measure the wall you'll be working on. To calculate the number of tiles you'll need, just multiply height by width.
When placing orders, always order samples. That is because tile colors and finishes look different in person than on a screen. So, after choosing your favorite sample, order about 10–15% more than your measurements to make up for small mistakes or cuts.
Proper prep makes your tiles stick better and last longer.
So, do this:
This part takes a bit of time but ensures good results.
Lay your tiles on the floor first to see the pattern clearly. Then:
Starting in the middle keeps everything aligned and avoids broken patterns.
Peel and stick tiles are simple, but neatness matters.
Use this easy method:
For cutting around outlets or corners, use a utility knife and a straightedge. Take your time and check alignment every few rows.
Once the wall is tiled, you can style it to finish the look.
You can add:
Even small touches can make the tile stand out more.
Yes, if the texture is light, you can use it. For heavier textures, a quick skim coat or light sanding will help them adhere better.
You need to use a level line and start from the center of the wall. Also, step back every few rows to check your progress.
Yes, they handle everyday use just fine. However, avoid pressing heavy furniture directly against them.
Warm the tile with a hair dryer so that the adhesive loosens. Peel slowly from one corner. Any leftover sticky residue can be removed with adhesive remover.
Match the tile vibe with your décor:
These small changes help the room feel put together without doing much.
Peel and stick tiles are an easy, practical way to update your living room without a major renovation. With simple installation, flexible design choices, and renter-friendly features, they make it easy to create a modern living room that feels fresh and put together.


