


Cover Ugly Dorm Walls Instantly: Best Peel and Stick Tiles for Renters
|
|
Lesezeit 7 min
|
|
Lesezeit 7 min
It is not exciting to enter a dormitory room for the first time. The space is always cold and temporary, with plain white or beige walls, even rough cinder blocks. You want it to be like you, but you should not be able to paint, dig, or do anything permanent, and certainly cannot afford a lecture by your RA or a deposit refund.
Best Peel and Stick Tiles come in there. One of the simplest and renter-acceptable methods of making your dorm have color, texture, and character without inflicting any harm on the walls is a peel and stick wall tile. Consider them a fashionable short-cut, no tools, no mess, and no commitment. A small area can be a transformative experience in your room.
Here, we are going to make up the peel and stick backsplash options to be applied to the dormitory walls to serve equally well, how to select the style needed in a student space, and how to install it with ease so that it will look good today and be able to be removed without leaving any traces later. At the end of it, you will know precisely how to make your dull dorm room look like a personal, relaxing, stress-free zone and stress-free.
Table of content
The reason behind the strictness of dorm rules is that wall damage is typically the quickest method of forfeiting some fraction of your security deposit. So, that is where peel and stick tiles can shine. Good-quality options are prepared using a removable adhesive that bonds but can be removed with ease and properly if they need to be removed. No peeled paint, no smoky leftovers, or fumbling end-of-year examinations that have you on your nerves.
You need not be a faker or a handyman to strip this off. Peel and stick tiles are easy to install because you need to measure the space, peel the backing, and stick the tiles to the wall. No exercise, no glue, no equipment scammed off the maintenance man. It is easy to use and not very demanding, hence its suitability for dorm life.
It is so easy to decorate a dorm and spend a lot of money doing it, and peel and stick tiles will provide you with a lot of impact without emptying your wallet. A textured, designer-like appearance can be achieved at a fairly low price per square foot, and it is far more high-end than posters or simply put decals. It is one of the most intelligent upgrades that a budget-friendly student can afford.
The good news of using peel and stick tiles is that they are very flexible. You are not forced to cover one of the walls to make a statement. You may form a little accent behind your bed, wall your study table, or play with designs and forms. And when you get tired of the appearance, or you are moving out, then you can just change things around.
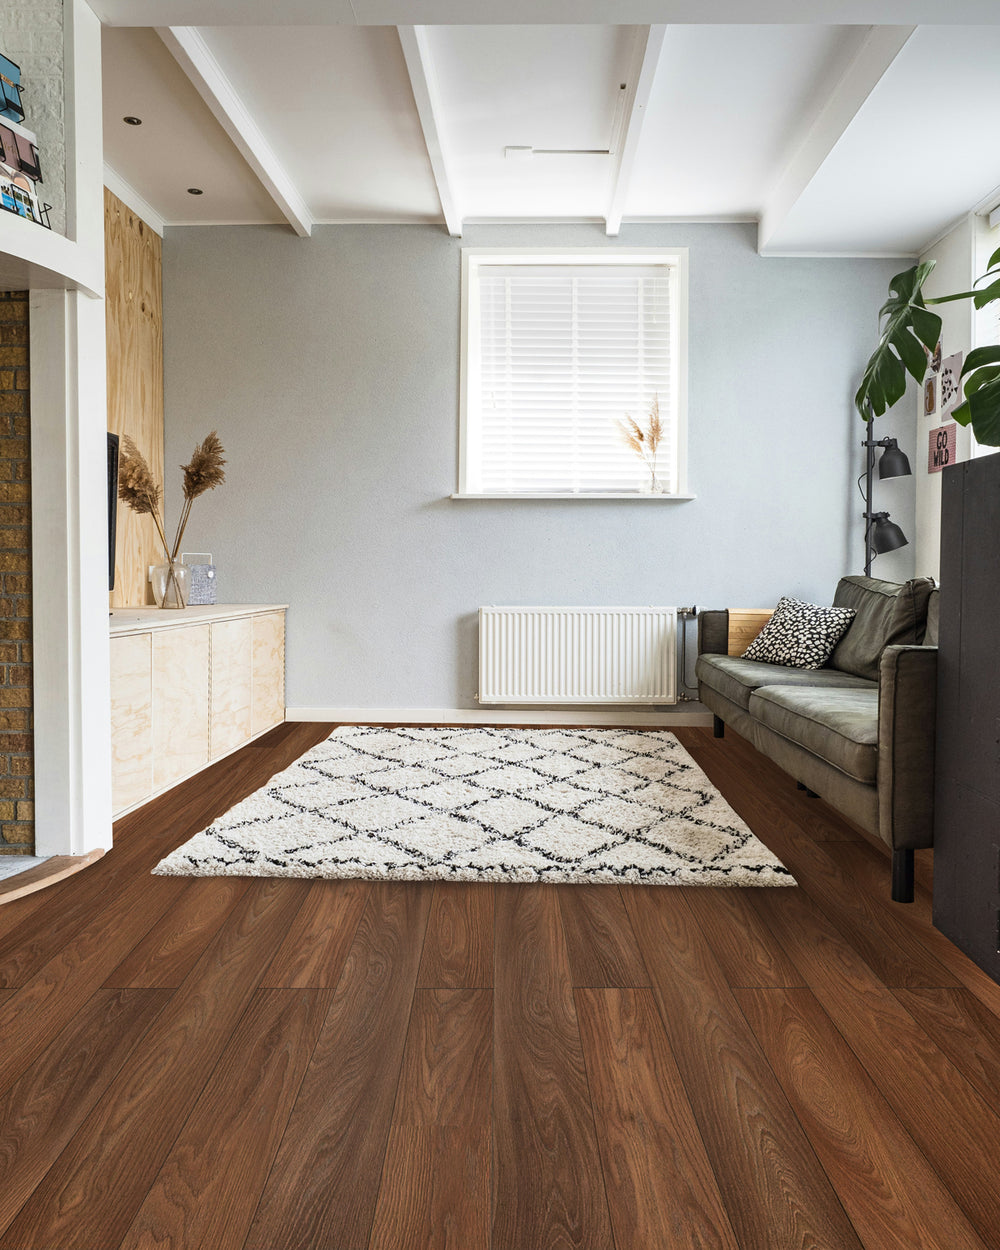
Makeovers of the dorm do not need weeks. The change is immediate with peel and stick tiles. After a couple of hours, a bland, dead room can look chic and presentable. The effects are short-term, visible, and frankly quite gratifying- you may well find your room is the new popular place on the floor.
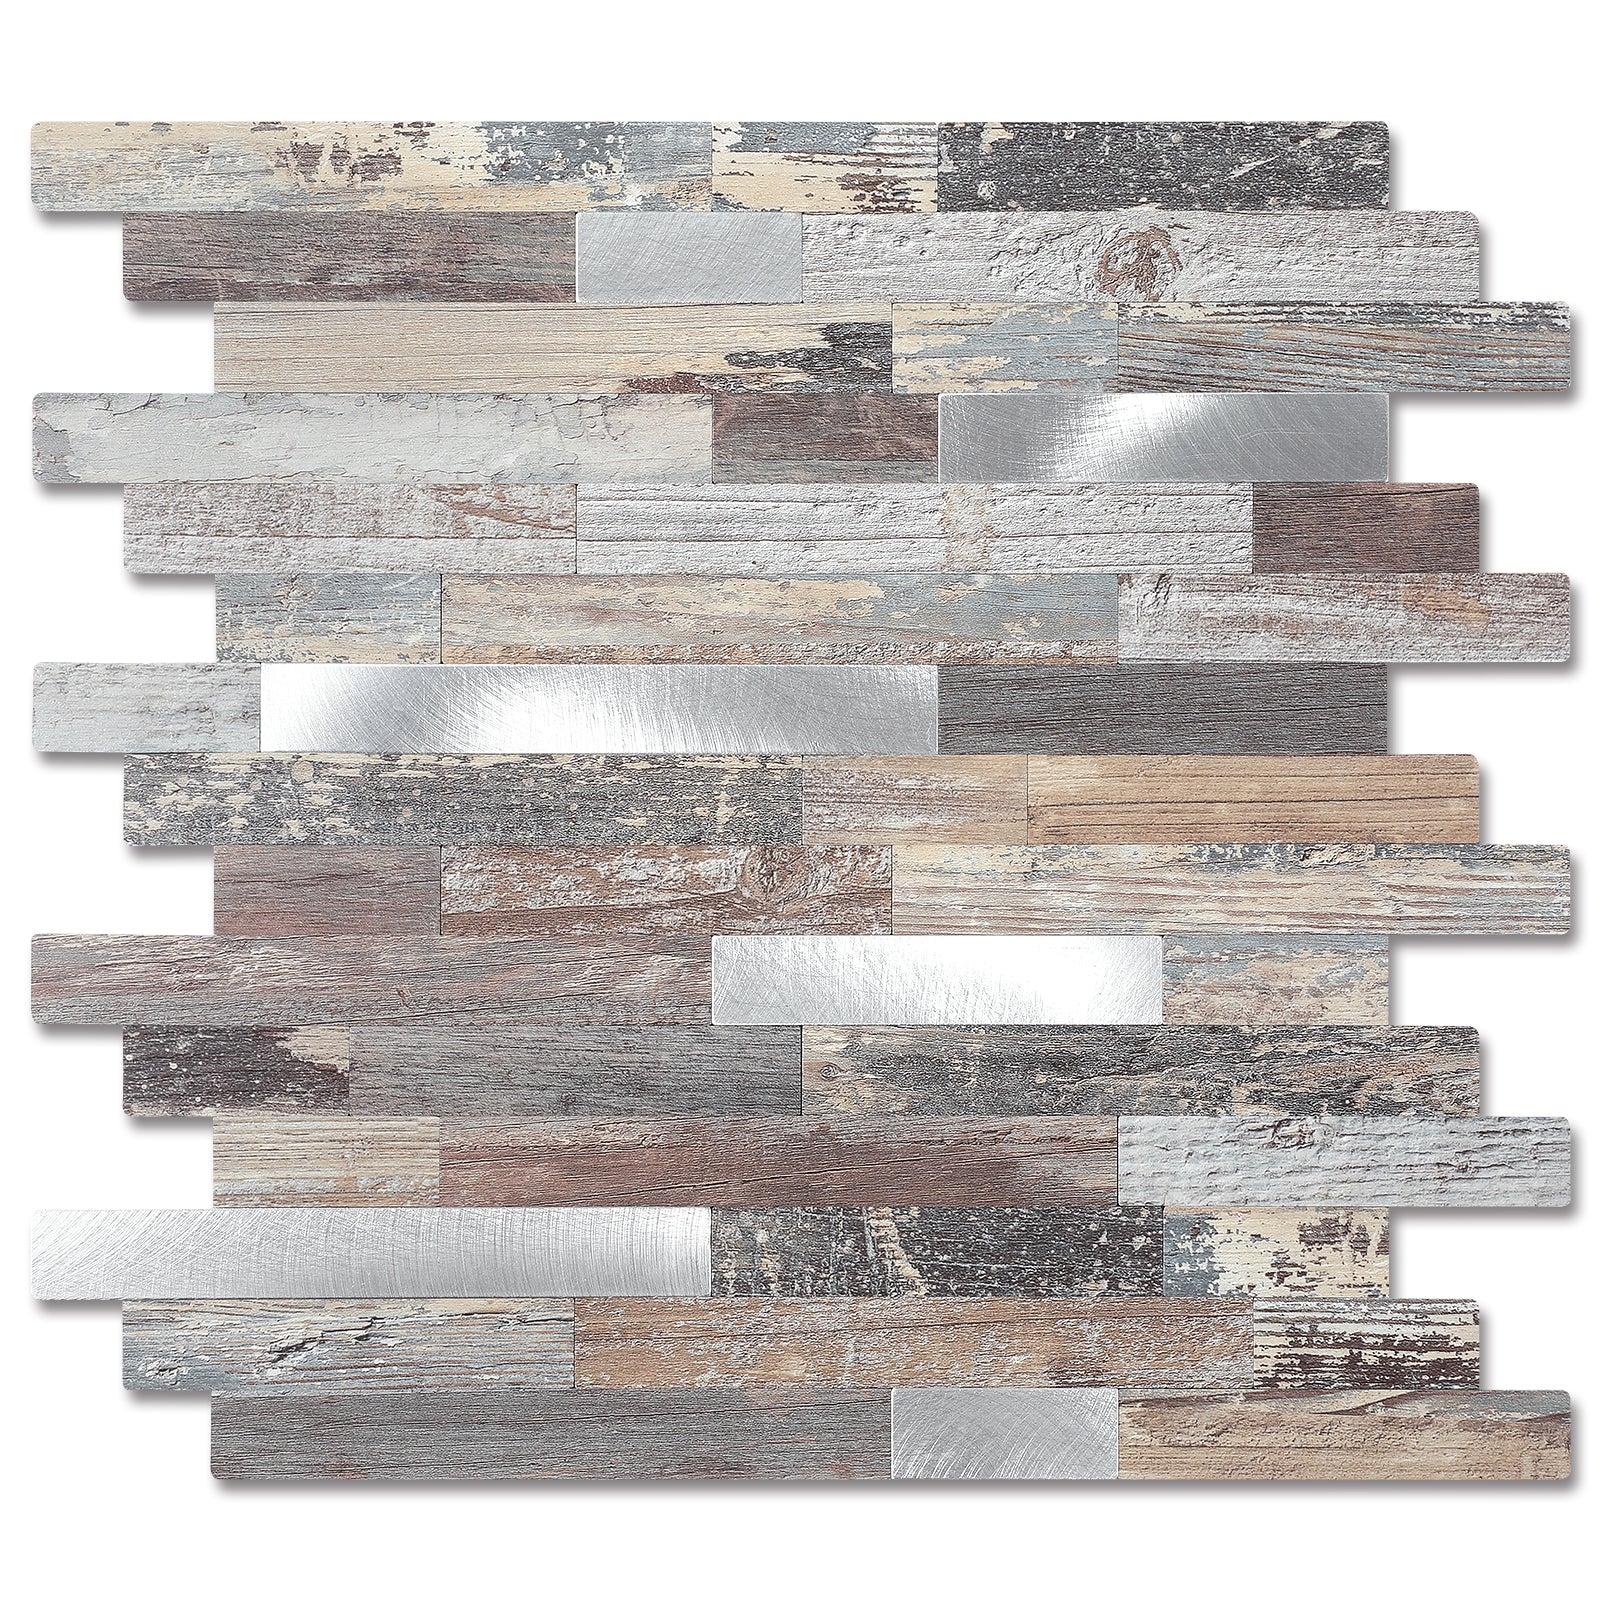
Removability should be a must when you are shopping for tiles. The product description should always be scanned in search of such terms as damage-free, renter-friendly, or removable adhesive. These labels normally imply that the glue is meant to stick in places but release without peeling paint or leaving a mark. Avoid tiles that claim to be permanently bonded or permanently industrial adhesive, they will be terrific in a kitchen, not on a dorm wall,l which you have to relinquish.
Dorm surfaces do not respond to peel and stick tiles in the same way. Vinyl or fabric tiles tend to be thinner, lighter, and more flexible, and therefore, they are a safer option where slightly textured walls or painted cinder block are involved. They are repositionable and best when you are in need of something temporary. Rigid plastic or PVC tiles are more three-dimensional and provide more depth; however, they can only be used on very smooth walls. These may not fit evenly on the walls of your dorm if it is not flat.
Dorm rooms tend to be small, and therefore, the appropriate style may count a lot. Light colors and glossy finishes are used to reflect light and make the room look less like a box. When you are fond of flamboyant designs or dark colors, apply them sparingly; an accent wall or a small area can be used without cluttering the space. The size of tiles is also important: The smaller the tile or mosaic sheet, the easier it is to work around beds, desks, and outlets, which means that installation is not as frustrating and is more accurate.
The most common type of wall in the dorm is painted drywall, which may also be quite fragile. Strong adhesives are likely to tear away paint when not taken care of. In any instance of commitment, first, you must do a test run, put a small tile somewhere you cannot see, and leave it behind after 24 hours. Pull it gradually to ensure that it is not damaged. After approval, wipe the wall with rubbing alcohol to wipe off oils and residue so that the tiles can adhere in the same way.
Cinder block and concrete walls are not smooth and porous, and as such, it is difficult to ensure that the tiles stick well. The largest difficulty in this regard is inadequate adhesion. In order to correct this, apply a clear wall primer or sealer to provide a more like a paint finish before installation. Allow to dry thoroughly- haste her,e, and this may lead to a rise in tiles in the future. This additional preparation step is significant in long-term holding.
Rough or wavy walls may result in air bubbles and poor contact between the tile and the surface. In this case, peel and stick tiles with a fabric backing are the best choice for walls since they can conform to small bumps. When installing, use the extra hard pressure with a squeegee or small roller to ensure that the tile in the installation sinks into the texture and adhesives.
Whatever the kind of wall you are dealing with, dirt and dust are your foe. Dust does not allow the adhesive to stick or even fall off tiles. Wipe with a weak solution of soap and water or isopropyl alcohol always. Most of all, make sure that the wall is completely dry before you begin. The building of a smooth and prolonged installation starts with a clean and dry surface.
It is always important to remember that before you begin to decorate, you should take a few minutes to see what your dorm in particular forbids on its walls. The size or location restrictions might exist in some of the dorms and be open to peel and stick items. When you plan how to do it beforehand, it also means that you will not be in a rut at the last minute, and on the contrary, it will provide you with an easy time when it comes to decorating.
Planning is something that makes it look purposeful. Sowell and measure the wall then determine the point where your design begins. Starting in the middle of the wall or one of the primary focal points, such as behind your bed or desk, would aid in maintaining the balance of the layout and keep the edges of the cuts smooth.
Before peeling away all the support, place the tiles on the floor in the pattern you would like on the wall. This will assist you in getting a feel of the end result, identifying design problems at an earlier stage, and creating spacing or alignment without the wastage of tiles or errors.
When installing, don't rush. All one needs to do is peel back just a couple of inches of the backing, place the tile on top, and press it into position. Gradually press the remaining ones downwards with a hand or other soft implement to squeeze out air bubbles as they come. This technique prevents the surface from being sloped and dirty.
In the case of edges, outlets, or light switches, accuracy of cut is all that matters. Drawing straight lines that are clean will require a sharp utility knife and a metal ruler. Give yourself time on these sections -clean slices are what give the completed wall a finished look rather than provisional.
Learn 10 incredibly creative dorm room makeover ideas.


