


Garage Makeover Ideas: Waterproof Stainless Steel Tile for Tool Storage Walls
|
|
Lesezeit 6 min
|
|
Lesezeit 6 min
Waterproof stainless steel tile transforms your cluttered garage into a durable and professional-grade tools storage workspace. It helps in resisting moisture, impacts, and stains while giving your garage a clean, industrial, user-friendly surface.
In most cases, the garages become disorganized and a dumping ground only due to drywalls, low-quality paints, and low-standard workshop finishing. Stainless steel tiles solve this issue by staying intact, wiping clean, and protecting walls from moisture anda harsh environment.
In this guide, I will cover how to plan, install, and organize a stainless steel tool wall for a long-lasting and efficient garage workspace.
Table of Content
Before installing tiles or organizing tools, clear out unnecessary items from the garage with a simple discipline system. Over time, the garage collects unused items, so you must apply your rule and sort everything into keep, need repair, or discard sections.
Decluttering may take a weekend of yours, but it will create the foundation for every storage and organisation step. After you clear the garage, create clear zones based on activities.
Set up a dedicated workspace, a section for gardening supplies, an area for sports equipment, and a seasonal storage place. Install your stainless steel tile wall in your main work area where you reach most often.
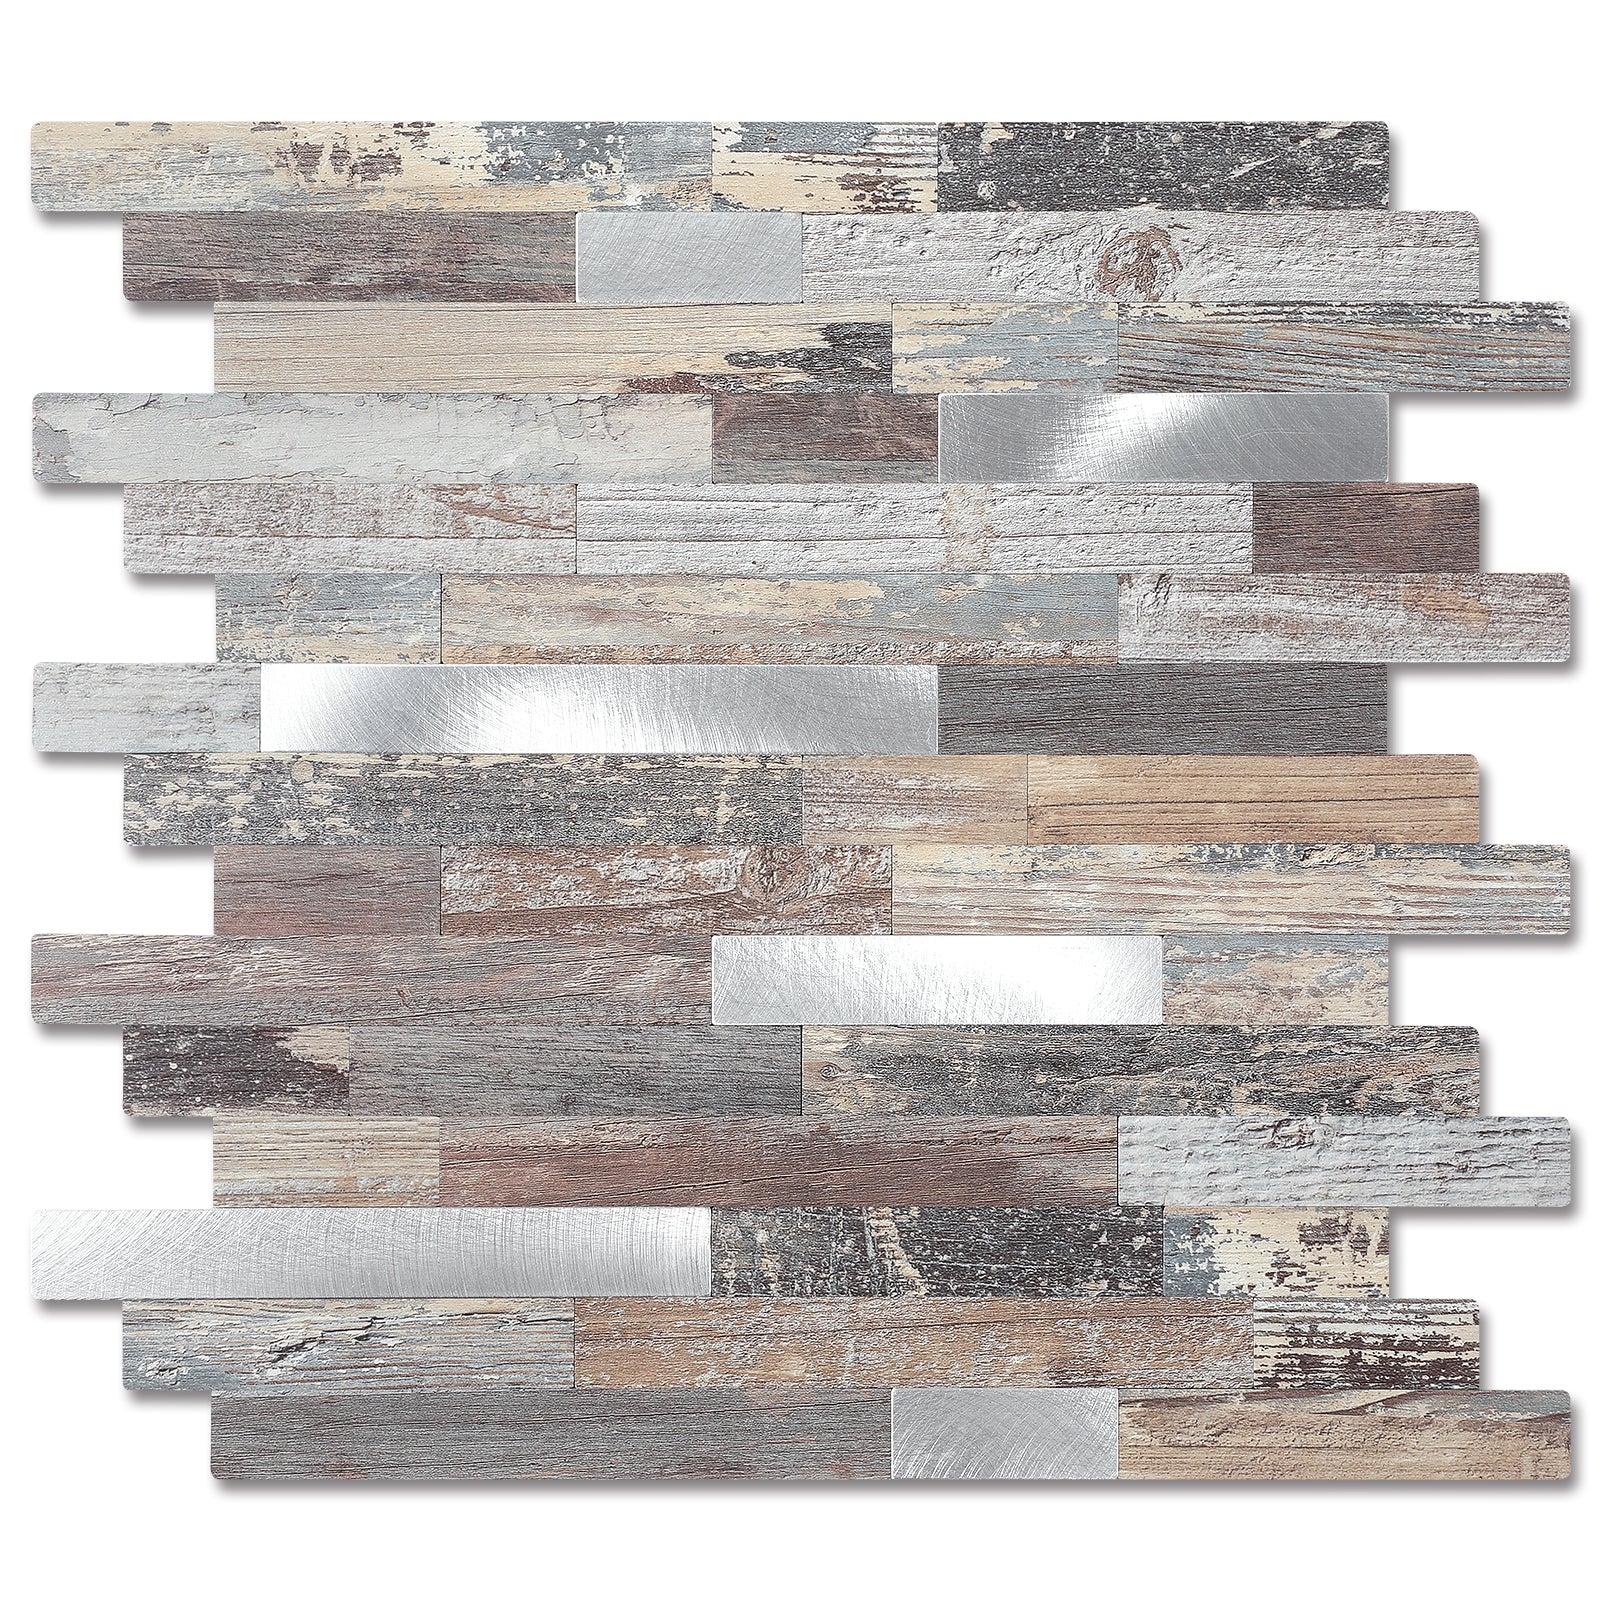
For wall protection, you can opt for a slate wall, a pegboard, orstainless steel. Every option has its own use, but for a serious workspace, you should opt for a stainless steel that performs best with moisture impacts and heavy use.
Don't forget that a regular ceramic or porcelain tile has some protection but remains brittle. Other than that, most standard tiles also lack the impact resistance needed in garages. However, on the other side, stainless steel backsplash tile solves the issues.
It is completely waterproof, so condensation and moisture do not affect it. Even oil, grease, and paint splatters wipe off easily. You can trust it to handle harsh conditions because commercial kitchens and professional workshops use the same material.
You have to make sure that the wall is in good condition before you install tiles. Check for soft spots, cracks, or moisture issues. If there is damage, repair it properly and do not tile over existing problems.
Clean the surface, remove dust, grease, and loose paint, and if you have a concrete block, see it and smooth it before tiling. Clean the surface, remove dust, grease, and loose paint, and if you have a concrete block, see it and smooth it before tiling.
Avoid ending with tiny tiles silver at the edges, and measure the wall and play the layout before you start. Take a start from the centre and work outward, or for a full wall plan for equal tile cuts on both sides, and use a level consistently.
For most DIY projects, use peel and stick tiles. They include strong baking that bonds to clean, smooth surfaces. Peel off the protective film and press the tile firmly into place. The adhesive is usually strong enough for typical garage use and requires no special tools in the process.
If you choose traditional tiles, use construction adhesive that is suitable for both metal and your wall material. Apply it in spots or separate it with a notched trowel for even coverage. This method suits installations where you plan to mount very heavy equipment.
You will need to cut tiles around outlets and corners. For peel and stick stainless steel tiles, use heavy-duty scissors or a utility knife. These tiles are very user-friendly. You just have to score the back repeatedly with the knife, then bend along the line until the tile snaps.
For thicker tiles, use an angle grinder with a metal cutting disc to shape the tile, and wear safety glasses and work gloves because metal edges are sharp.
After you install the tiles, you end up with a ceiling. Apply a clear silicone sealant along the top where the tyres meet the ceiling and in all corners.
This creates a full waterproof seal and gives the project a finished professional appearance. After that, let the silicon cure completely before you put any weight on the wall.
Stainless steel tile offers a big advantage, and that is that magnets stick to it. You can attach heavy-duty magnetic tool holders, night strips, and other hooks without leaving marks. This helps you to keep your most used hand tools and magnetic tapes at a high level.
Store small metal parts, screws, nuts, and washers in a magnetic tray that attaches directly to the wall. Other than these magnetic tiles, no wall material offers this level of flexibility.
For heavier items that magnets cannot support, install aluminium rail systems. You can safely hang bikes, ladders, power tools, and large equipment without worrying about weight. Use more people hook systems on the rares so hooks can slide to new positions.
Keep in mind that not everything should hang on the wall. Use metal cabinets for precision tools, chemicals, and anything that needs protection from dust and humidity. The wall behind provides a magnetic surface for small tools you can use at the bench.
Position the solid workbench against your stainless steel wall to create a highly functional setup. It will protect the surface behind your work area and give you instant tool access.
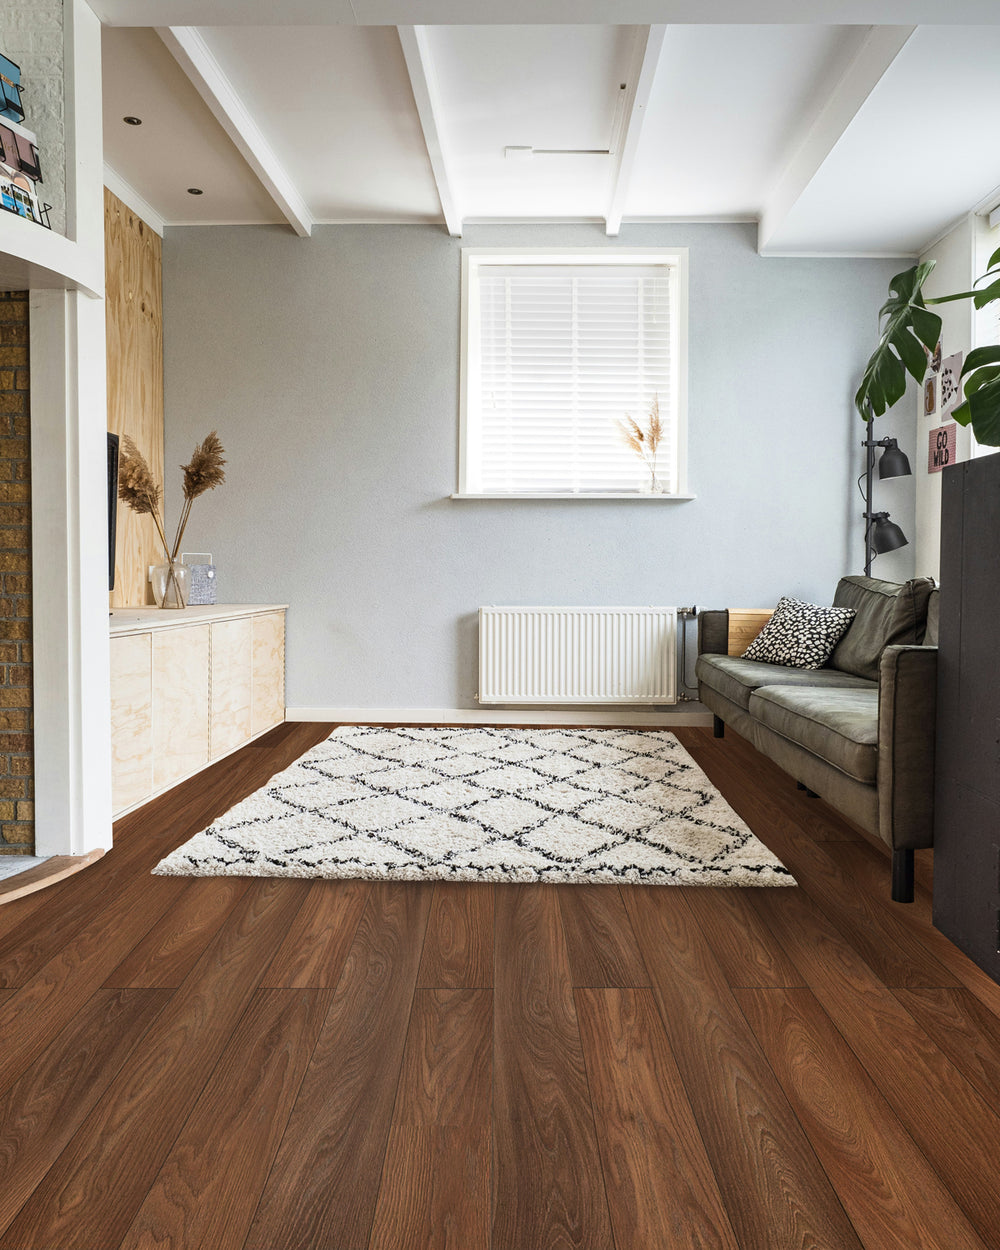
Bare concrete floors create a show stage and are hard on your feet, or if you drop any tool. However, epoxy or poly aspartic coating turns garage floors into durable and easy to clean surfaces.
It resists chemical impacts and moisturizer. The glossy finish looks excellent and complements stainless steel walls, creating a cohesive professional workspace.
Grasses usually have poor lighting and a single dimming bulb, which is not enough for work. So you must upgrade to bright LED panels or strip lighting that provides shadow-free illumination.
Focus on your main work area and ensure task lighting is bright for detailed work. Other than that, the metal surface reflects light and makes the entire space brighter.
An organized garage is safe, but you still need some basic safety equipment. Mount a fire extinguisher in a visible, easily accessible location.
Keep a first aid box within easy reach. Provide proper ventilation, especially when you use paint solvents or other materials that produce fumes. These simple practices, combined with good organization, significantly reduce the risk of accidents.
Transforming a cluttered garage into a functional workshop takes effort, but the results are worth it. Start with waterproof stainless steel tile on your tool wall to create a durable, impact-resistant, and moisture-proof surface. Then add storage using magnetic systems, rails, cabinets, and shelving for an organized, efficient workspace.
Stainless steel tile offers durability, low maintenance, and a professional look. You stop wasting time searching for tools, dealing with damaged walls, or treating the garage as a lost cause.
Tackle the makeover in stages or all at once: declutter and plan, install the stainless steel wall, then add storage. Upgrade flooring and lighting as your budget allows. Each step moves you toward a garage that works for you.
With the right materials and a clear plan, your garage can become one of the most functional spaces in your home, where tools stay organized, and everything has a designated place.
Yes. Pegboard is cheap but weak and dated; stainless steel is durable, impact and moisture-resistant, and looks professional long-term.
Yes. Peel and stick tiles work if surfaces are clean, dry, smooth, and prepped; rough walls need smoothing before installation.
Anchor heavy items through tile into wall studs with heavy-duty screws or lag bolts; never rely on tile adhesive alone.
Glare is rare in normal garages. If concerned, use brushed or matte stainless tiles; they diffuse light and hide scratches.
Clean with warm soapy water or kitchen degreaser; avoid abrasives. Dry to prevent spots; rubbing alcohol removes stubborn stains.


