

Peel and Stick Tiles for RVs & Tiny Homes: Lightweight Solutions
|
|
Lesezeit 6 min
|
|
Lesezeit 6 min
RVs and tiny homes have structural constraints where every pound counts. Traditional tiles can add 30-50% to the load, putting stress on your vehicle and reducing fuel efficiency. Plus, limited space makes renovations a challenge. That’s where peel-and-stick tiles come in. It’s made from lightweight PVC or PET, only one-fifth the weight of regular tiles and no messy demo.
Just apply them over your existing surface for a quick stylish upgrade you can finish in as little as 48 hours. These self-adhesive tiles not only refresh your space but also minimize structural risks, making them the perfect solution for modern mobile living. This article will cover why peel and stick tiles are great for RVs and tiny homes, how to choose the right products and maintenance tips for long term performance.
The demand for peel and stick tiles in small homes and RVs is increasing fast, and with good reasons. They offer functional benefits specially designed for small living spaces:
The biggest reason is the weight advantage. Ceramic tiles weigh around 2,500g/㎡, peel and stick tiles like PVC weigh 494g/㎡. That's almost 80% less weight bearing pressure, a big win for RVers trying to stay within weight limits and improve gas mileage.
Peel and stick tiles range from 0.3mm to 1.5mm thick, perfect for spaces where ceiling or floor height is limited. In lofted tiny homes, for example, every millimeter counts. The thin profile also allows for layering over existing surfaces without protruding edges.
In contrast to stiff ceramic tiles, peel and stick variants can be wrapped around curved surfaces, which are not uncommon in RV interiors. They go on easily around corners, walls, and even bumpy surfaces after simple preparation. You don't need to go out and buy a saw, miter box or any other specialized cutting tools. A utility knife and scraper are all you need.
No need to hire a contractor or rent expensive tools. Peel and stick tile installation is easy for beginners. All you need is a utility knife, a ruler, a level and a clean surface. Most projects can be completed in under 48 hours, saving you time and money.
Traditional tiling projects are expensive. Peel and stick options save you money. Material prices range from $1 to $4 per square foot on the website, with no labor costs. In many cases, the total cost is reduced by 60%. It's a great way to undertake a renovation without breaking the bank or compromising style.
Choosing the right tile depends on the application. Here are three product categories for different uses in mobile living.
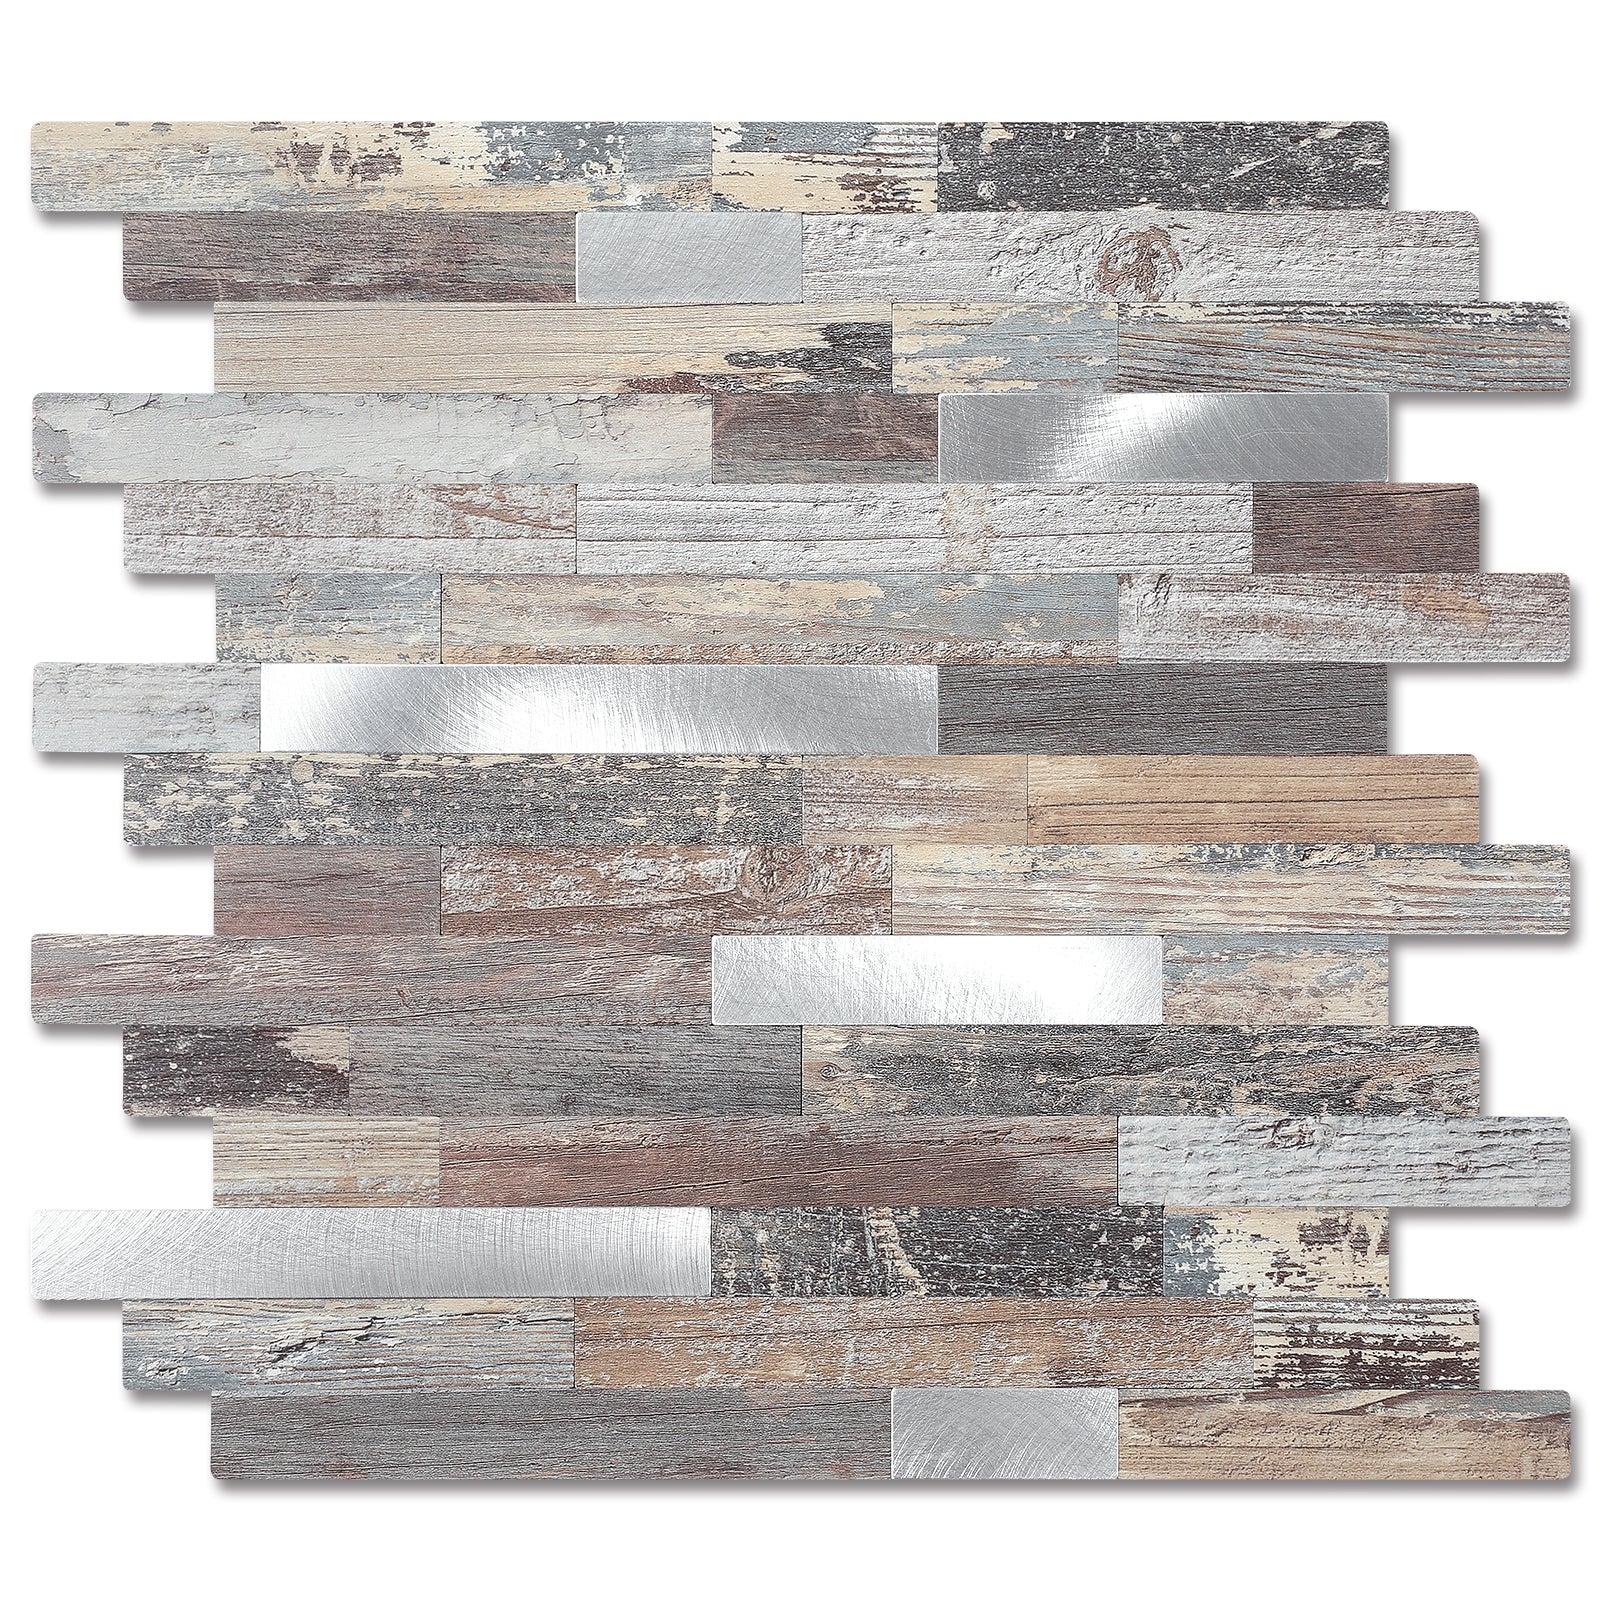
Use in RV kitchens and bathrooms as peel and stick waterproof and mildew resistant stainless steel peel and stick tile. Sleek brushed metal finish adds a high-end look while being super practical. They can withstand moisture, temperature changes and daily cleaning.
One of the top products is the 12" X 12" Square & Rectangle Stick on Metal Tile Stainless Steel Backsplash, $32.99 for a pack of 10. With a metal like texture and oil-resistant properties, these tiles not only look great but make daily maintenance a breeze. Water resistance makes them a favorite for backsplash upgrades and small wall installations behind sinks and stovetops.
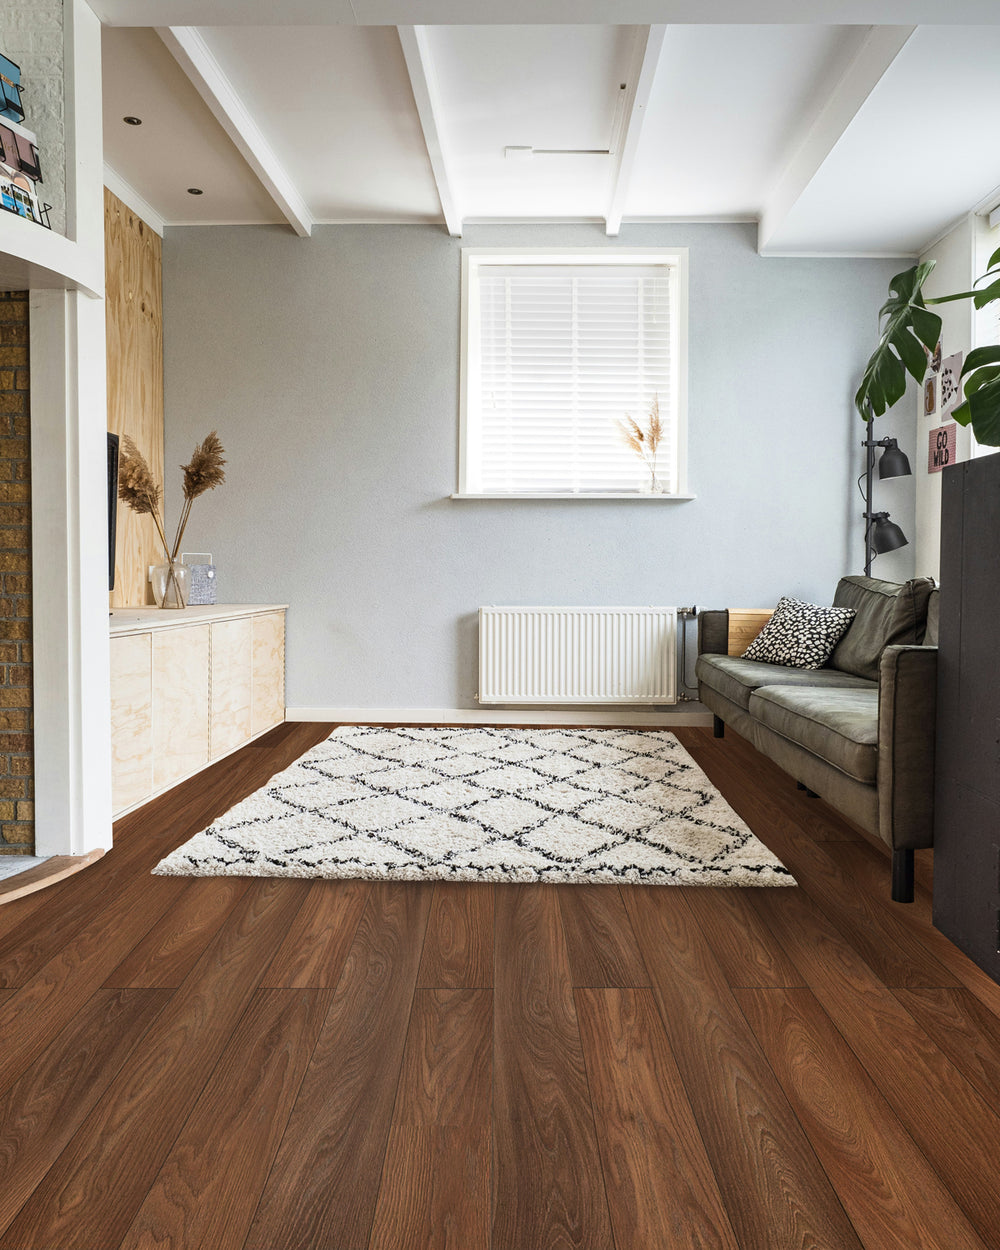
For floors, vinyl tiles are the best option. They are built to handle foot traffic, heat, and the movement of your RV while on the road. These tiles can withstand up to 80°C and last more than 5 years in high traffic areas. They’re also very light, 0.28 kg per square foot, which helps reduce the overall weight of your RV or tiny home.
Vinyl floor tiles come in many colors and patterns, so you can choose a style that fits your space. Whether you are walking around barefoot in your tiny home, or trying to navigate the narrow aisle of your RV. Vinyl floor peel and stick tile is gentle on the feet but tough on wear and tear.
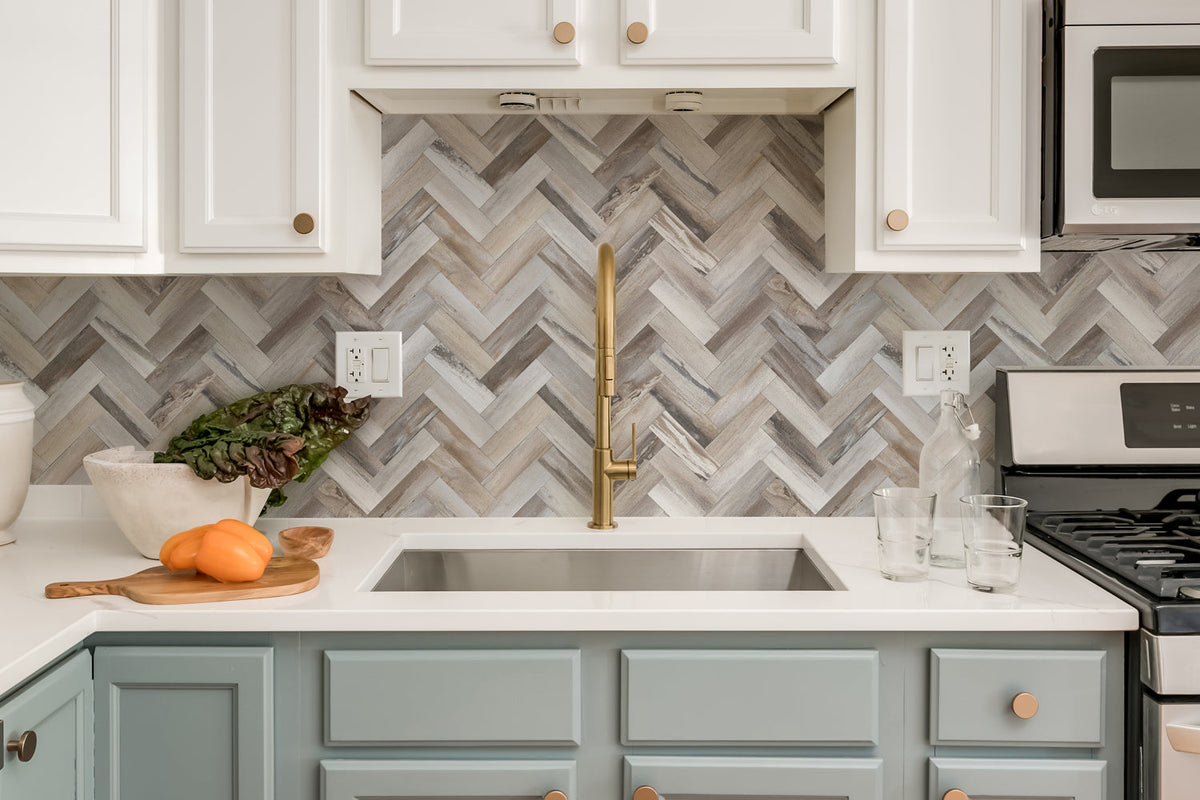
When style matters most, PVC brick effect tiles offer great creative freedom. They come in wood grain, stone texture or glossy finish and add depth and warmth to even the smallest spaces.
Use them to partition off lofts, to create risers for stairs, or as an accent wall in multipurpose rooms. In addition to adding more visual space, they are light and easy to install. Best of all, since they are PVC, they can be easily cut by hand for renters or people who like to travel frequently.
Installing peel and stick tiles isn't just easy – it's fun. Here's how to transform your space in 48 hours
Success starts with surface treatment. Clean the walls or floors thoroughly with a TSP degreaser to remove oil stains and grime. A clean base improves adhesion by up to 50%. If your surface has gaps or holes, use a fast drying putty to fill them in. Your goal is to reduce unevenness to less than 2mm per square meter to avoid air bubbles.
For curved areas, trace the desired template on tracing paper, then cut the tiles with heavy duty scissors. Pre-cut narrower strips (approximately 2cm wide) around appliances and outlets and seal the edges of the tiles using silicone glue to avoid water entry.
Peel the backing and stick the tile firmly, press from the center out to remove air bubbles. Use a flat scraper to ensure each tile is stuck down. For floors, consider laying a decoupling pad made from PP/PE material under the tile layer. This $3.65 per square meter addition minimizes the risk of cracking caused by driving vibrations.
Do not place anything heavy on them or get them wet for a minimum of 48 hours to let the adhesive totally dry. Perform a water-splashing test in prominent locations such as kitchens and bathrooms after installation to ensure there is no leakage or peeling.
The journey doesn't end after installation. Peel and stick tiles are low maintenance but there are best practices to ensure long-term durability.
The best part about peel and stick tiles is their versatility. Here's how real users are customizing their compact spaces:
Not if you use elastic sealants and follow proper surface prep. Annual resealing is recommended for maximum durability.
Yes. High quality PVC and vinyl tiles from Yipscazo are rated for use in both hot and cold climates, with no cracking or adhesive failure reported in extreme tests.
Yes, many products at Yipscazo include scaled pricing and you can still get discounts even if you're only remodeling a compact space.
Yes. As long as the base is clean and level, peel and stick tiles adhere perfectly without removing the old surface.
Upgrading an RV or tiny home should be fun, affordable and stress-free. Peel and stick tiles are a practical solution for anyone who wants to improve their living space without adding weight or breaking the bank. They're lightweight, stylish and easy to install, making them the perfect choice for mobile living.
Ready to transform your RV or tiny home? Explore the collection of high-quality peel and stick tiles and peel and stick backsplash options at Yipscazo Tile. Start your journey toward a beautiful, functional space today.


